
Add Time
Add time to a CleanGuru timesheet for work an employee did not clock in for, put someone on the clock now, or log hours against a specific ticket or inspection.
Log General Hours
Open the Add Time window
Click Timesheets in the top navigation bar, then click the green Add Time button.
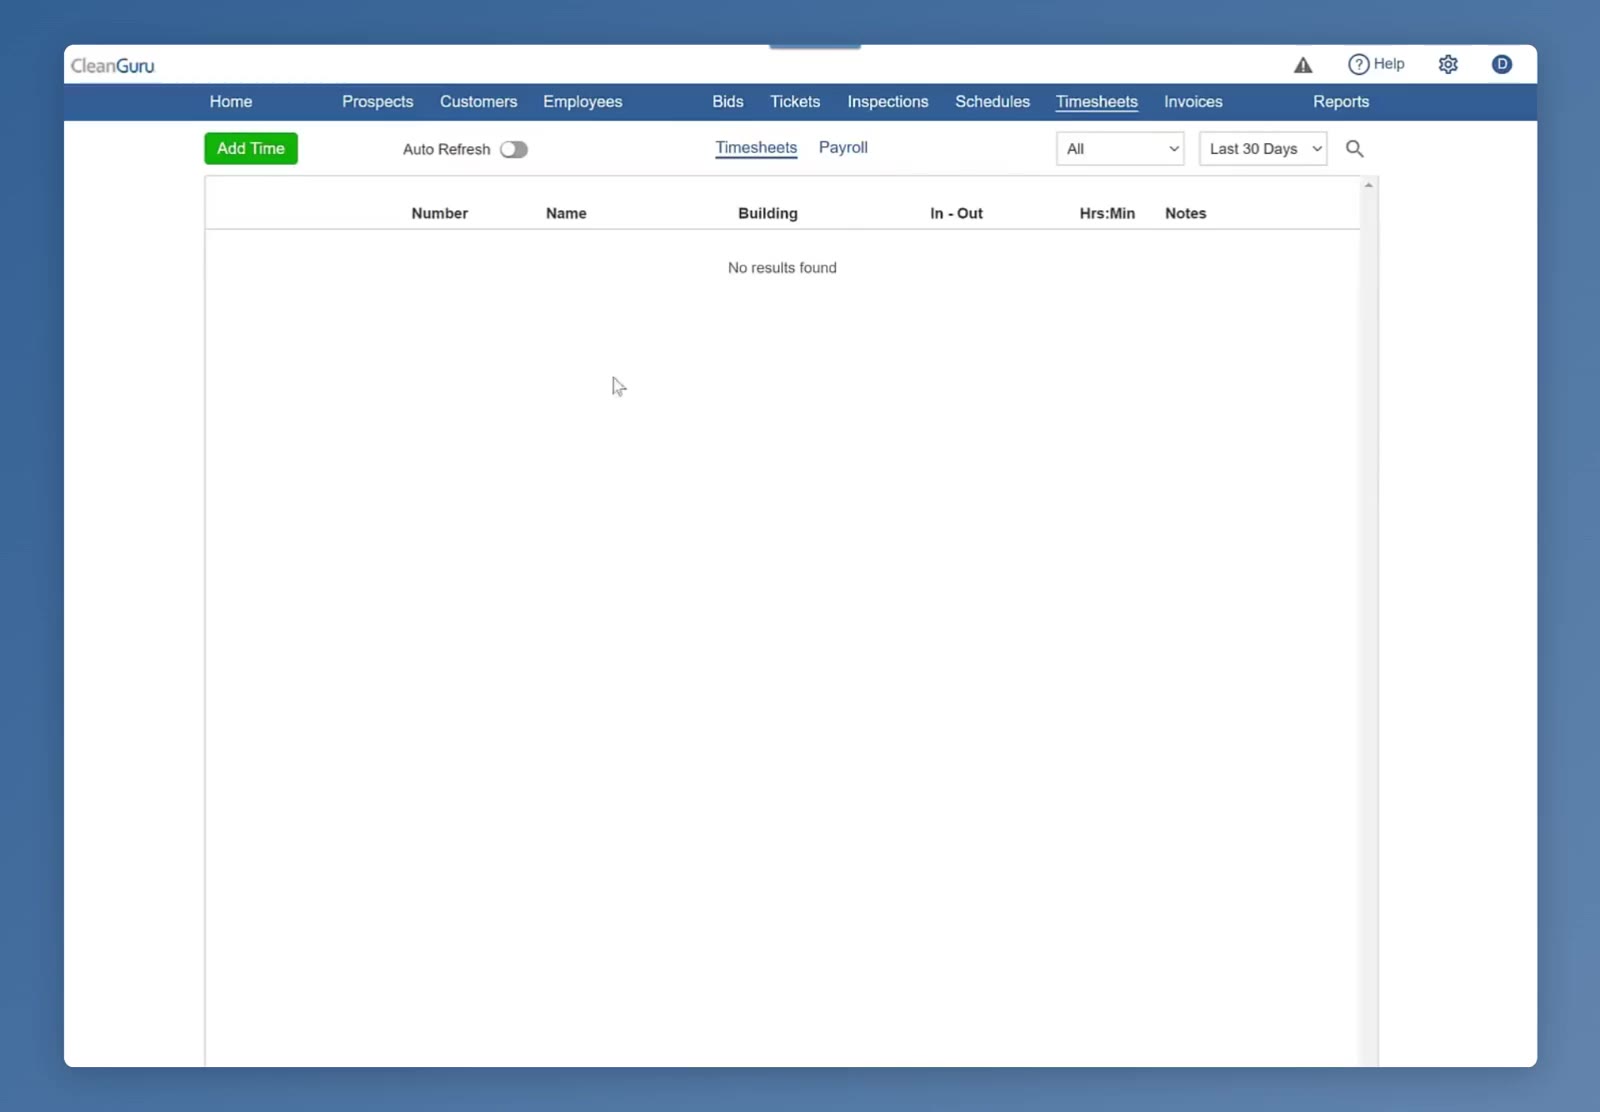
The green Add Time button sits at the top left of the Timesheets screen, next to Auto Refresh.
Choose the type and the employee
The New Timesheet window opens on General; the dropdown also offers Travel, Ticket and Inspection. Pick the person from the Employee dropdown.
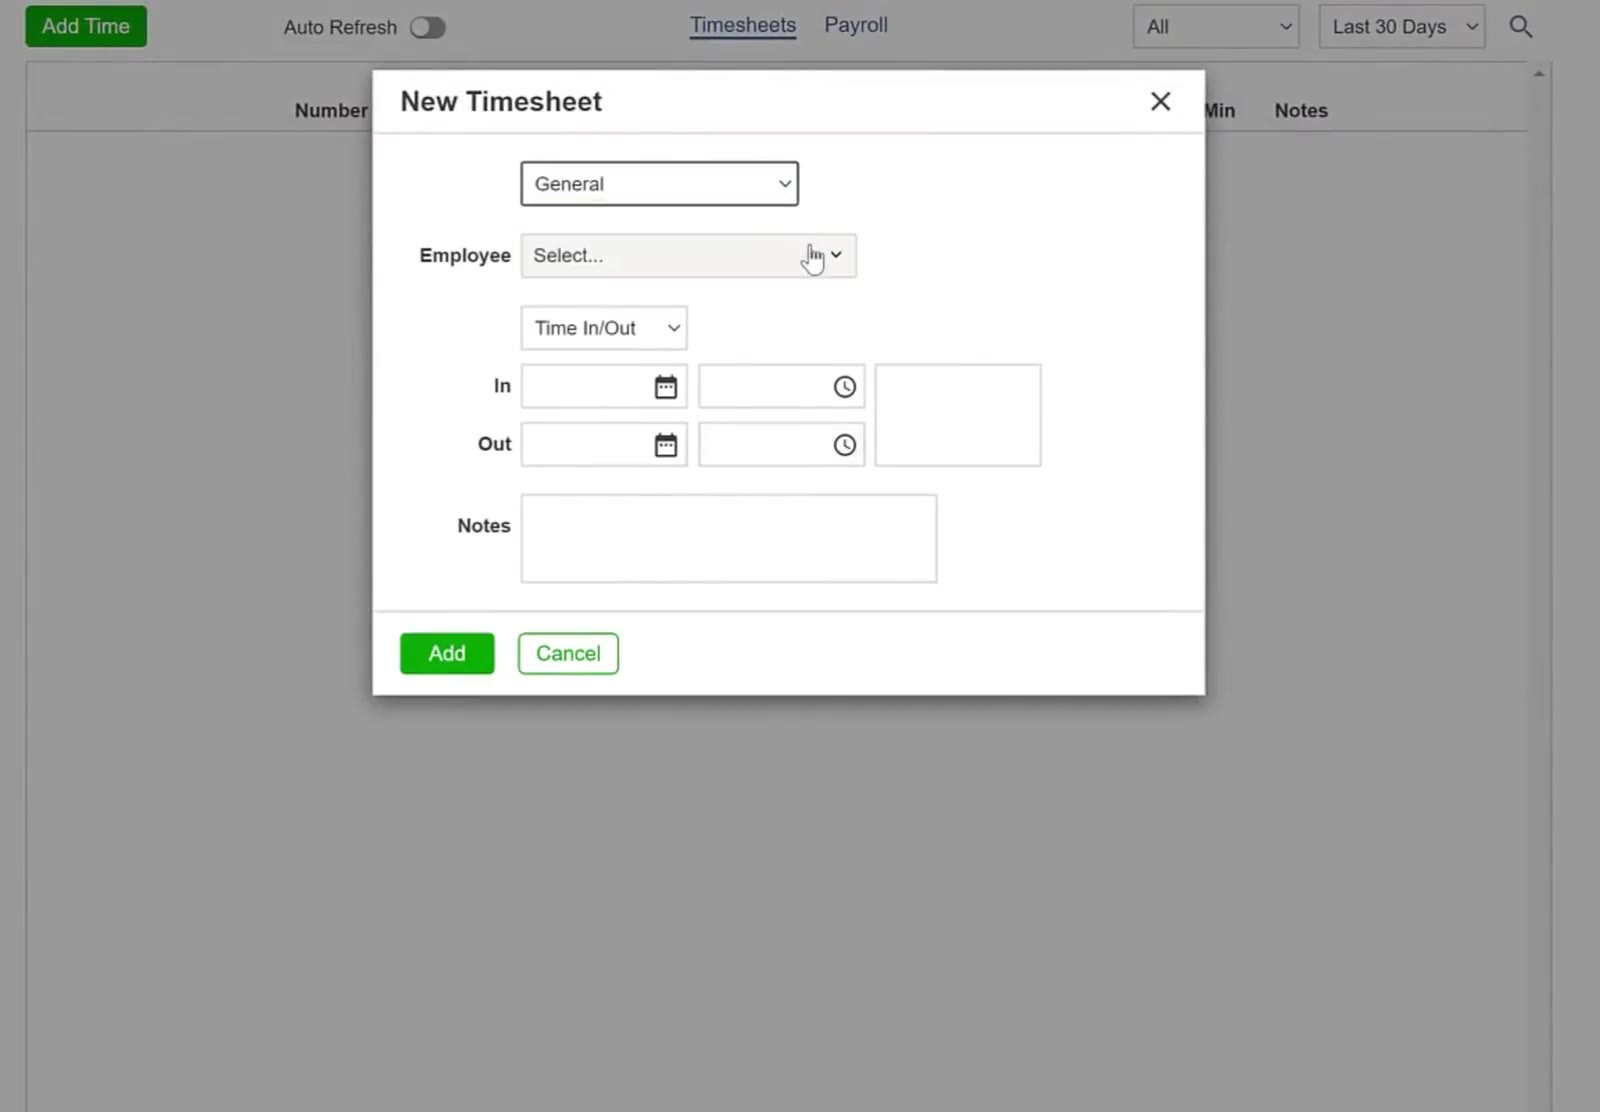
The New Timesheet window: the type at the top, then Employee, then how the time is recorded.
Enter a start and a finish
Leave the method on Time In/Out and fill in the In and Out date and time. CleanGuru works out the total.
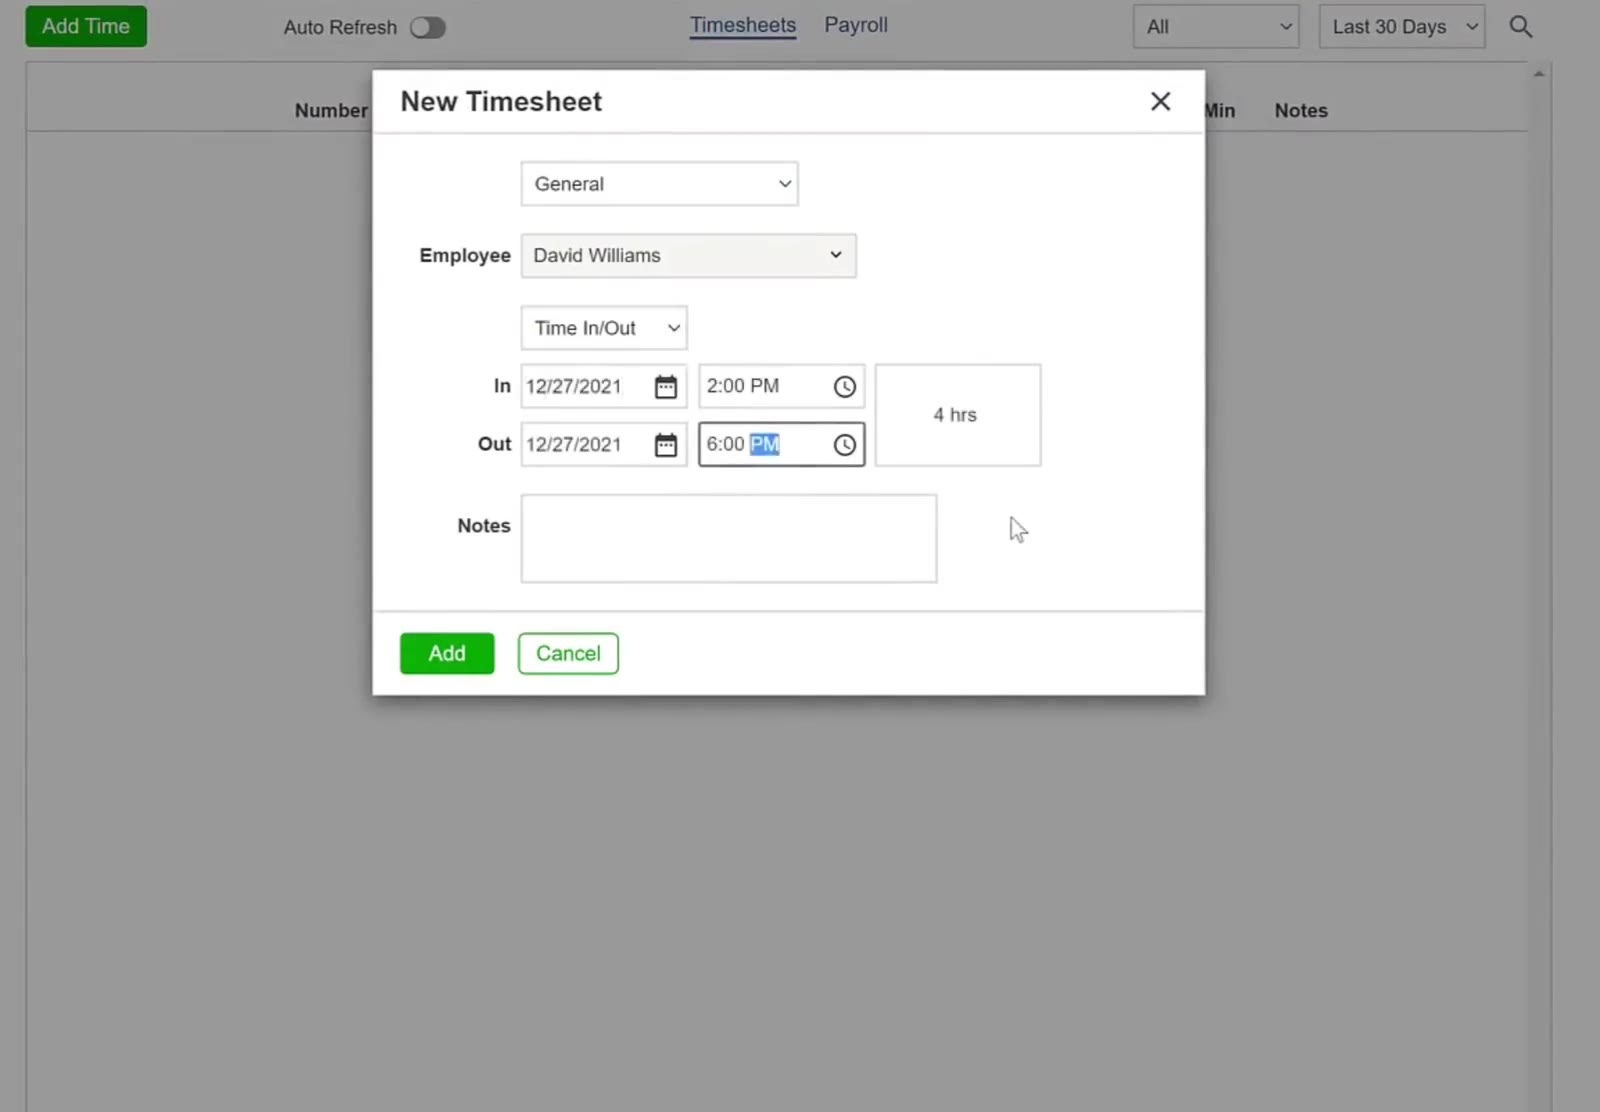
With Time In/Out, a 2:00p start and a 6:00p finish comes to 4 hrs.
Or enter a total instead
Switch the method to Hrs:Min and type the hours and minutes worked.
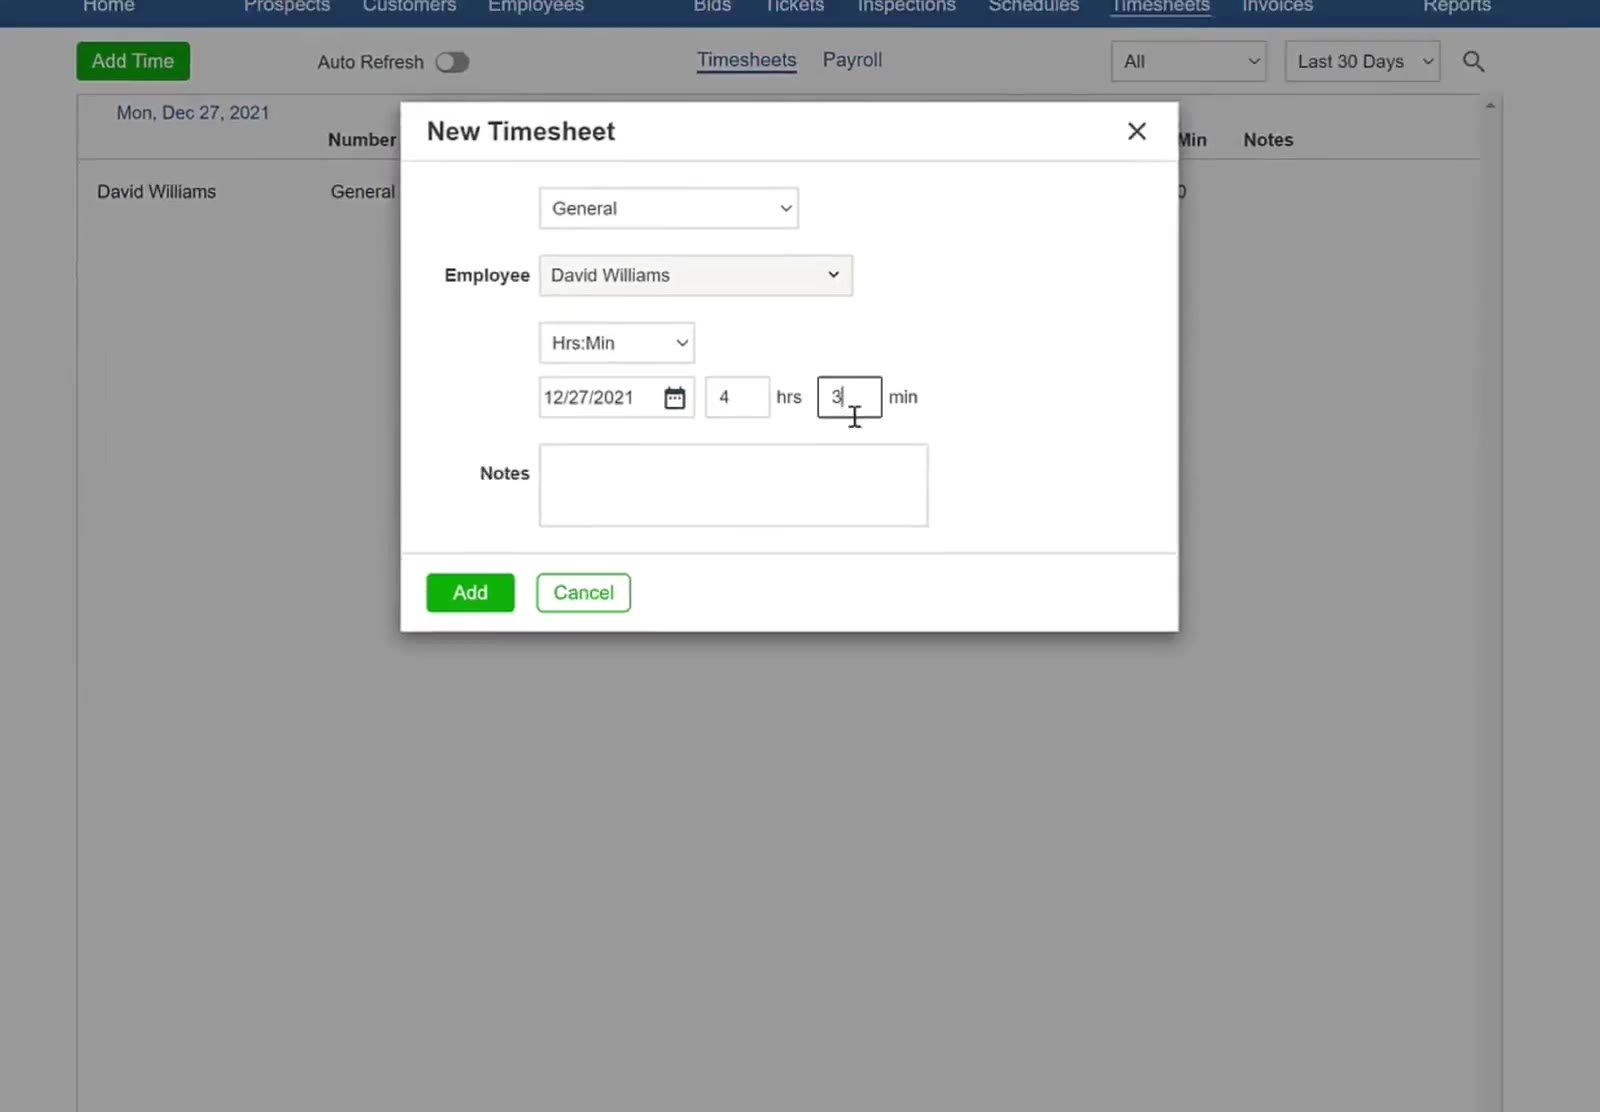
Hrs:Min takes a total instead of a start and a finish.
Save the entry
Click the green Add button.
Put Someone On The Clock
Check someone in
Open Add Time again, pick the employee, set the method to Check In, then click Check In.
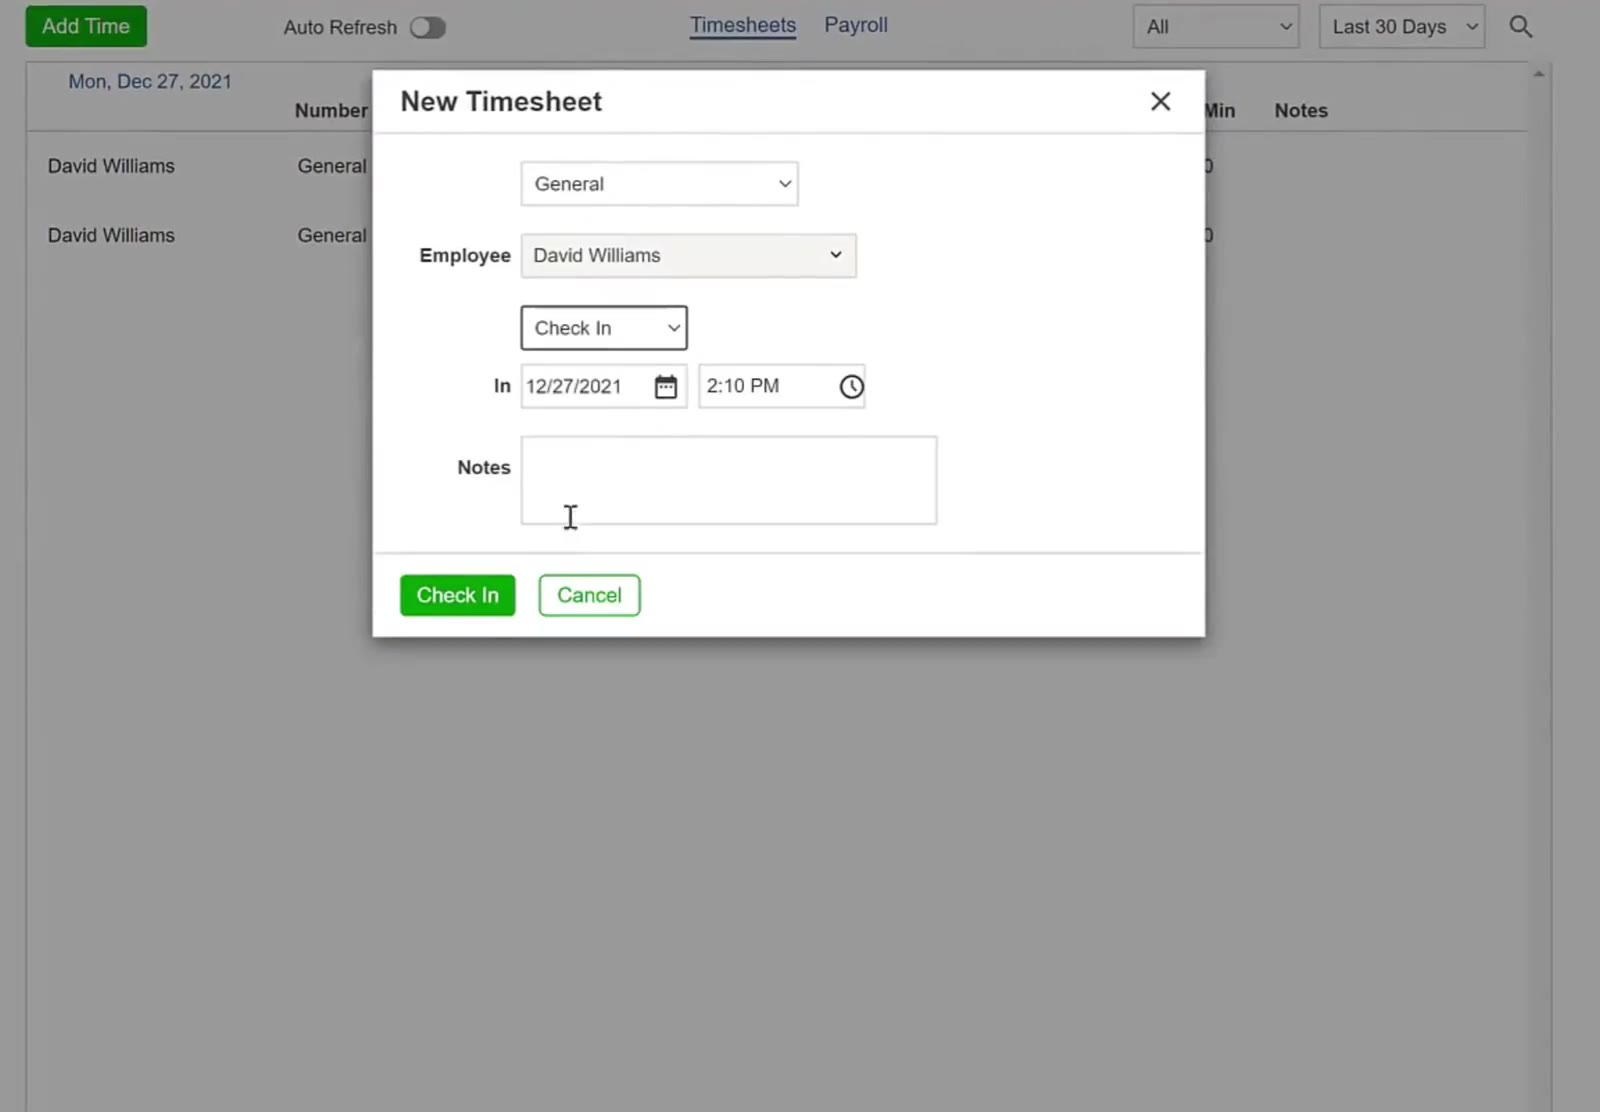
Check In is the third option in the method dropdown.
Close it or check them out
The Checked IN panel shows who is on the clock and since when. Click Close to go back to the list, or Check Out when the work ends.
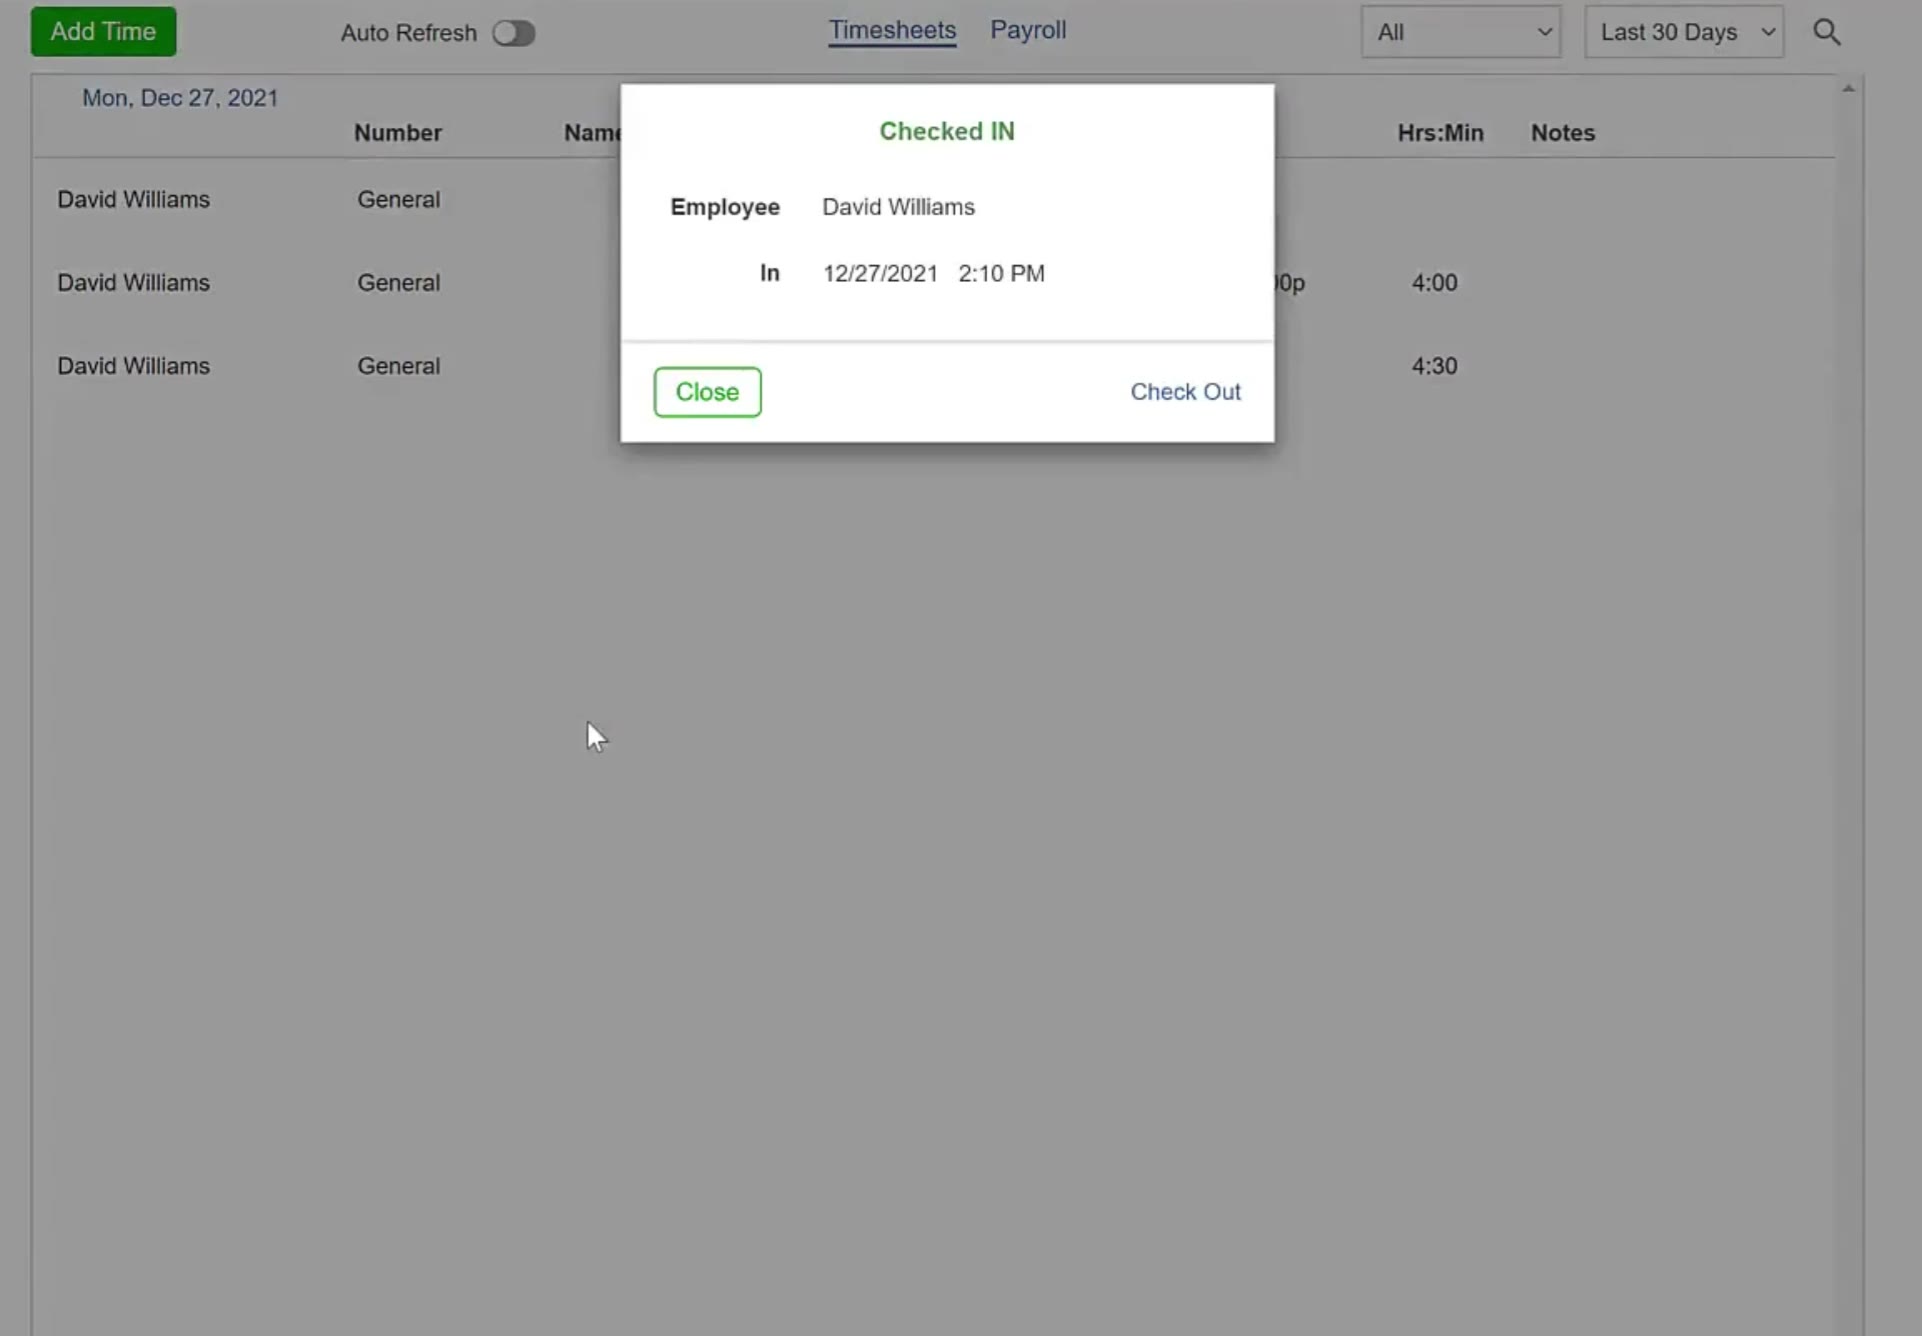
The Checked IN panel shows the employee and the time, with Close and Check Out.
Log Time Against a Ticket or Inspection
Change the type
In the New Timesheet window, change the type from General to Ticket or Inspection. Building and Ticket fields appear.
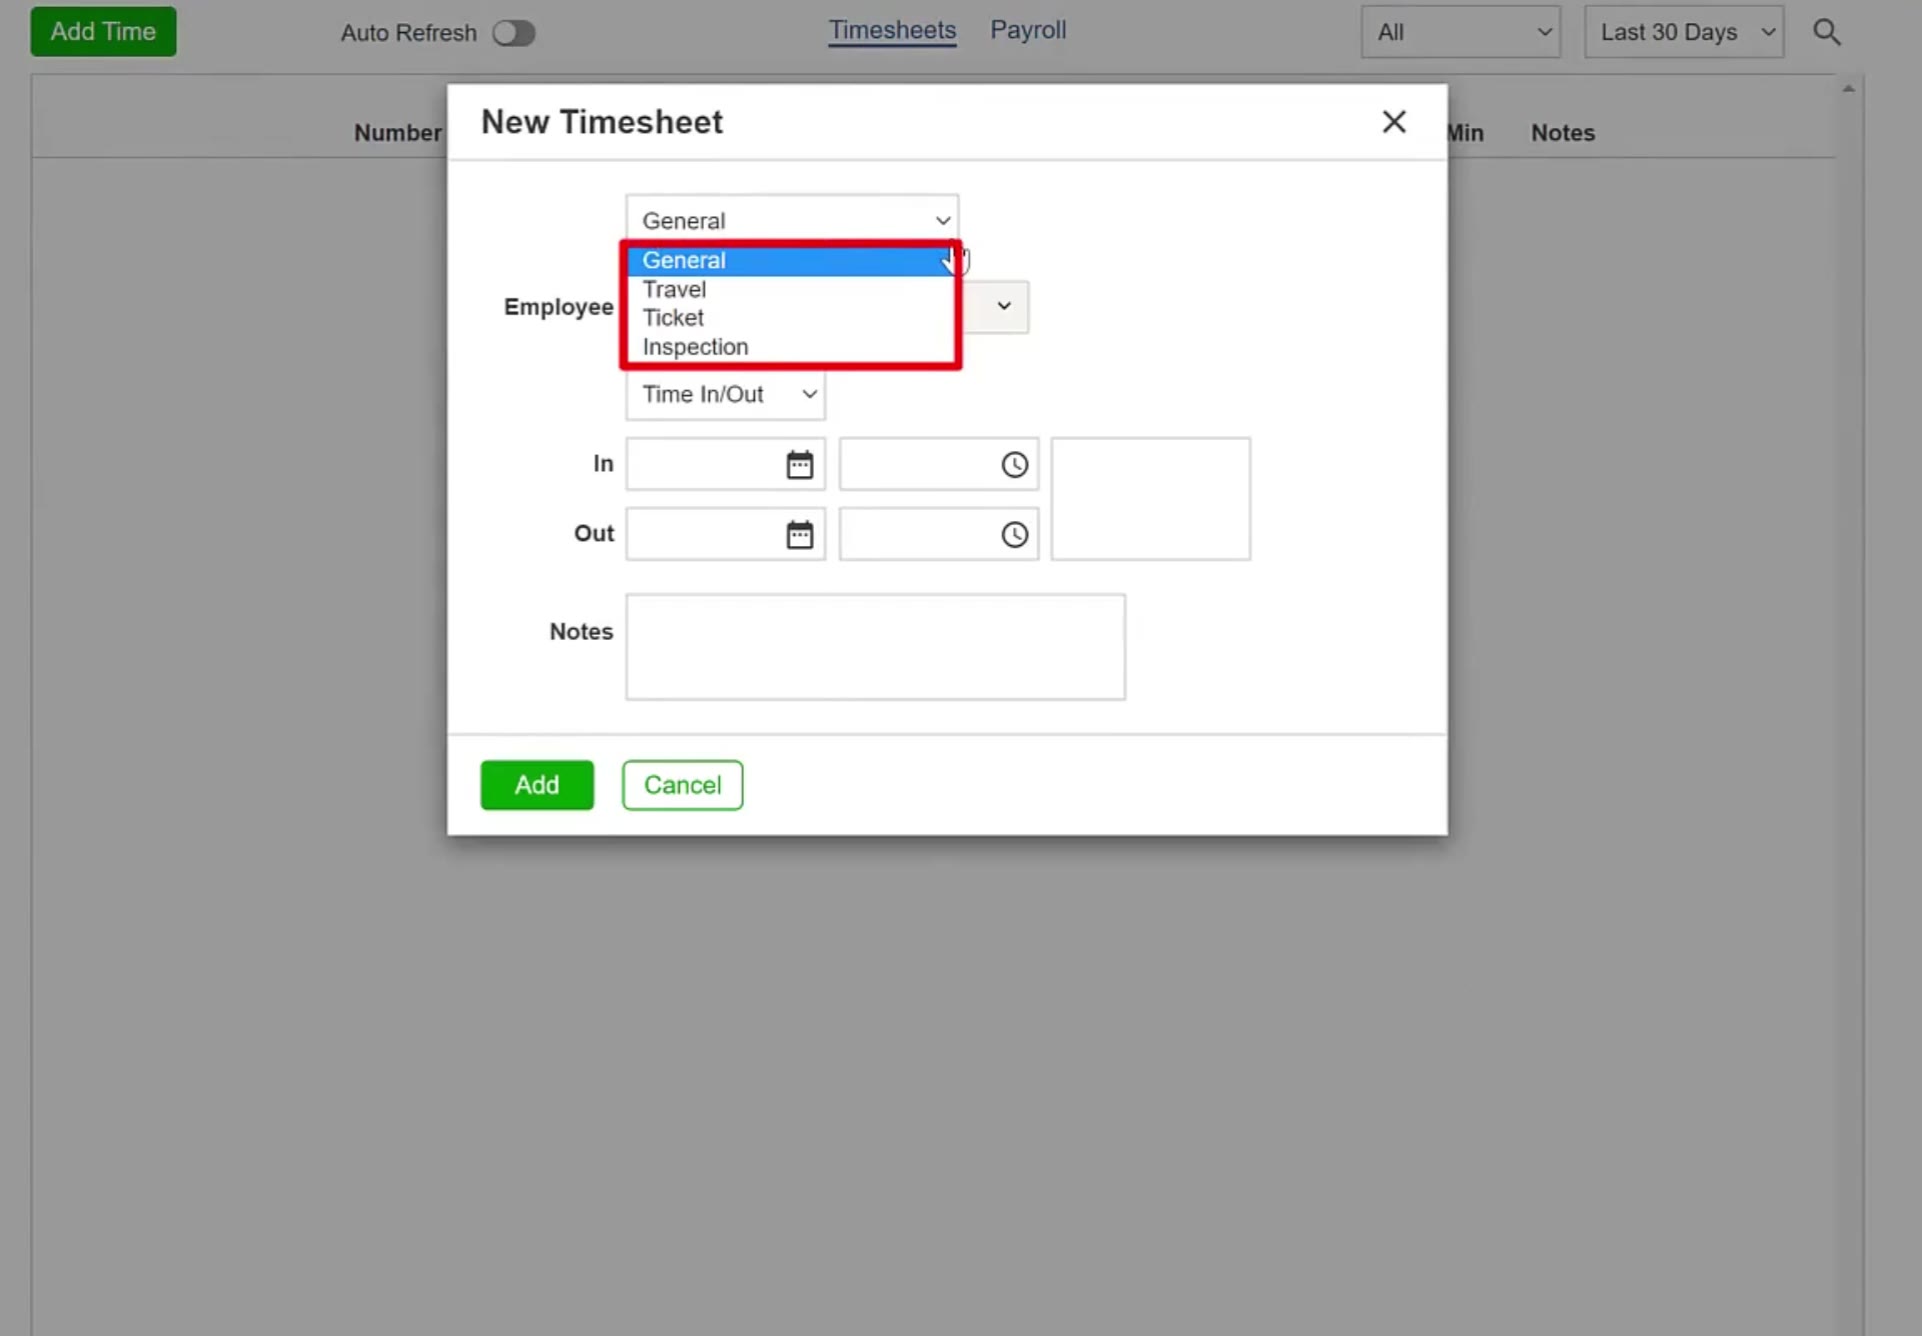
The type dropdown offers General, Travel, Ticket and Inspection.
Pick the building, then the job
Choose the Building, then open the Ticket list and select the job.
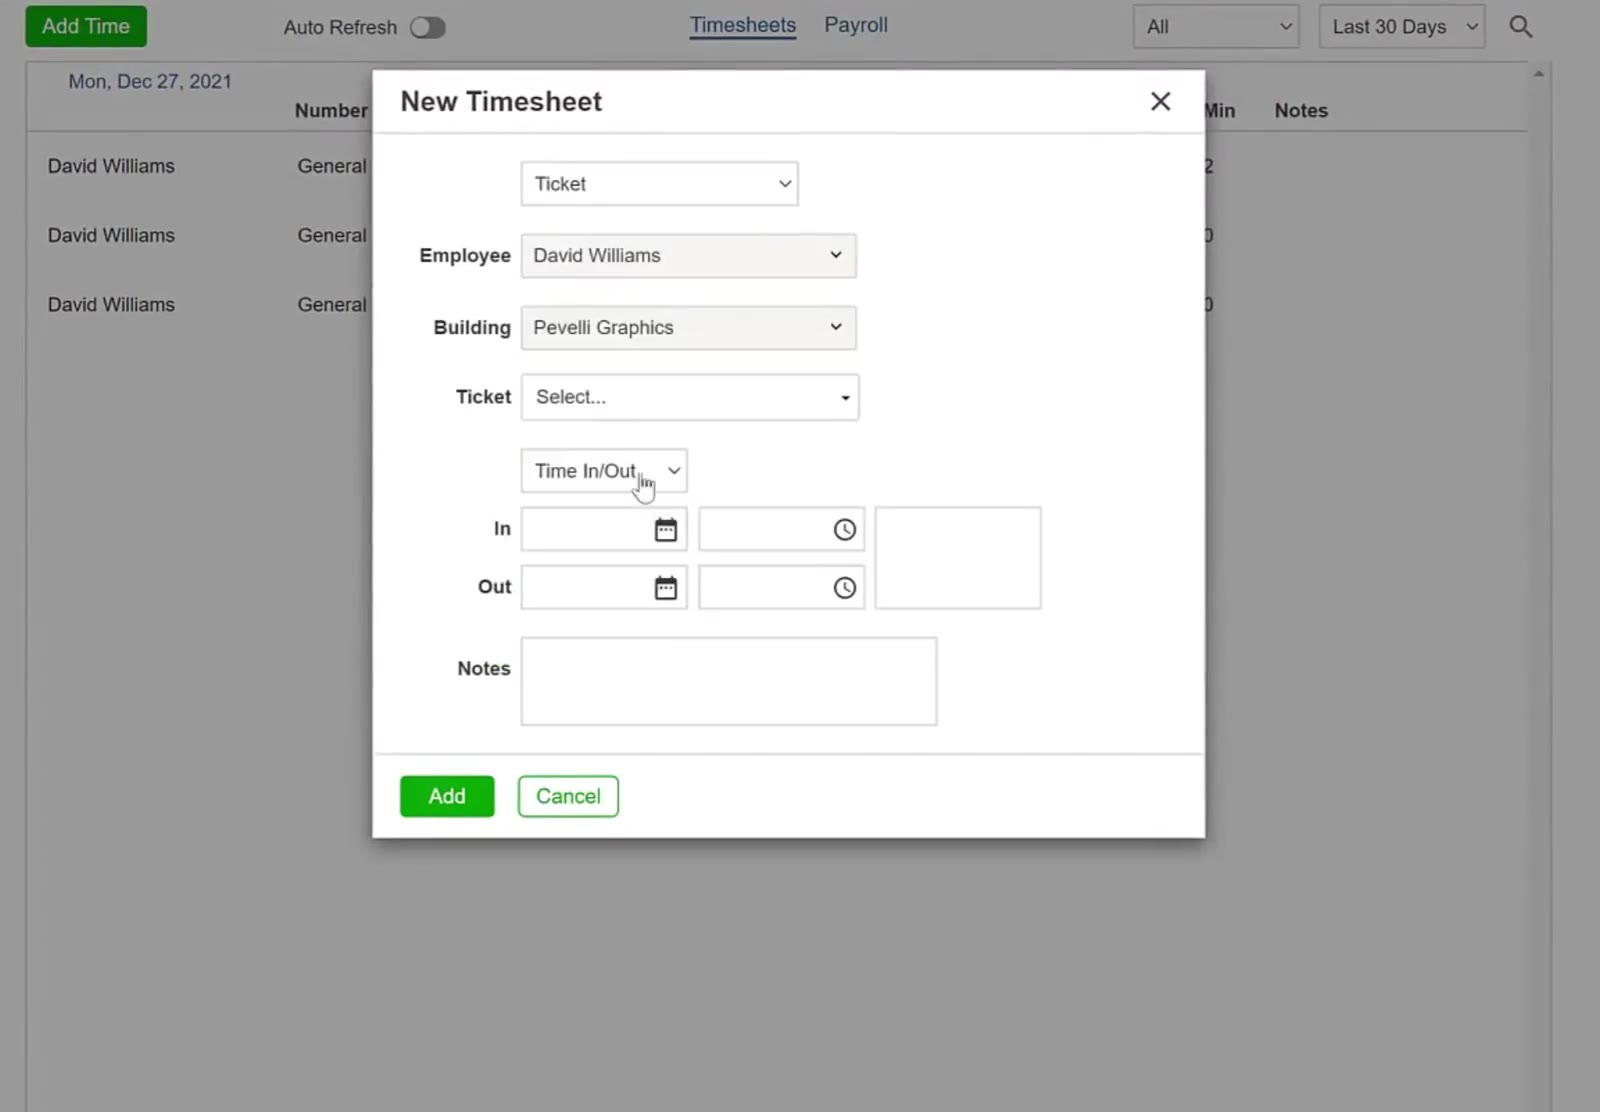
With Ticket chosen, Building and Ticket fields appear in the window.
Finish the entry
Choose how the time is recorded and commit it. The entry appears in the list against its ticket and building.
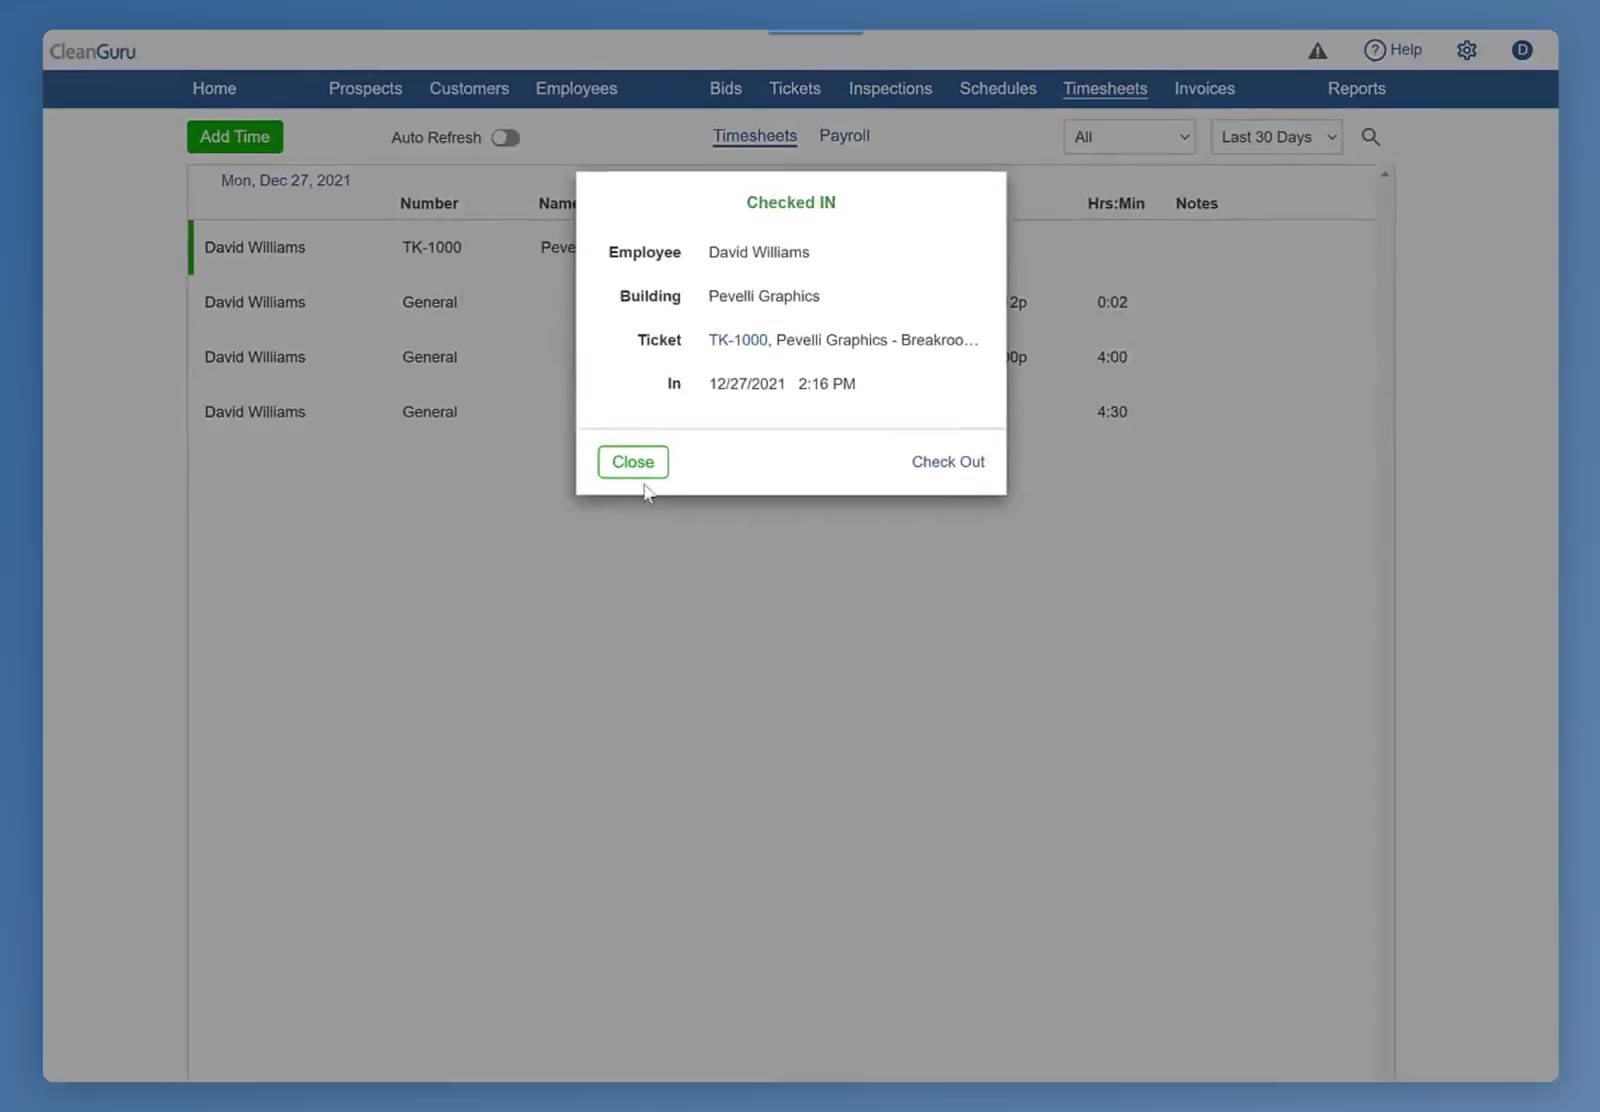
Checking in against a ticket names the building and the ticket on the confirmation.
Manage the List
Turn on Auto Refresh
Switch Auto Refresh on and the list updates itself about once a minute.
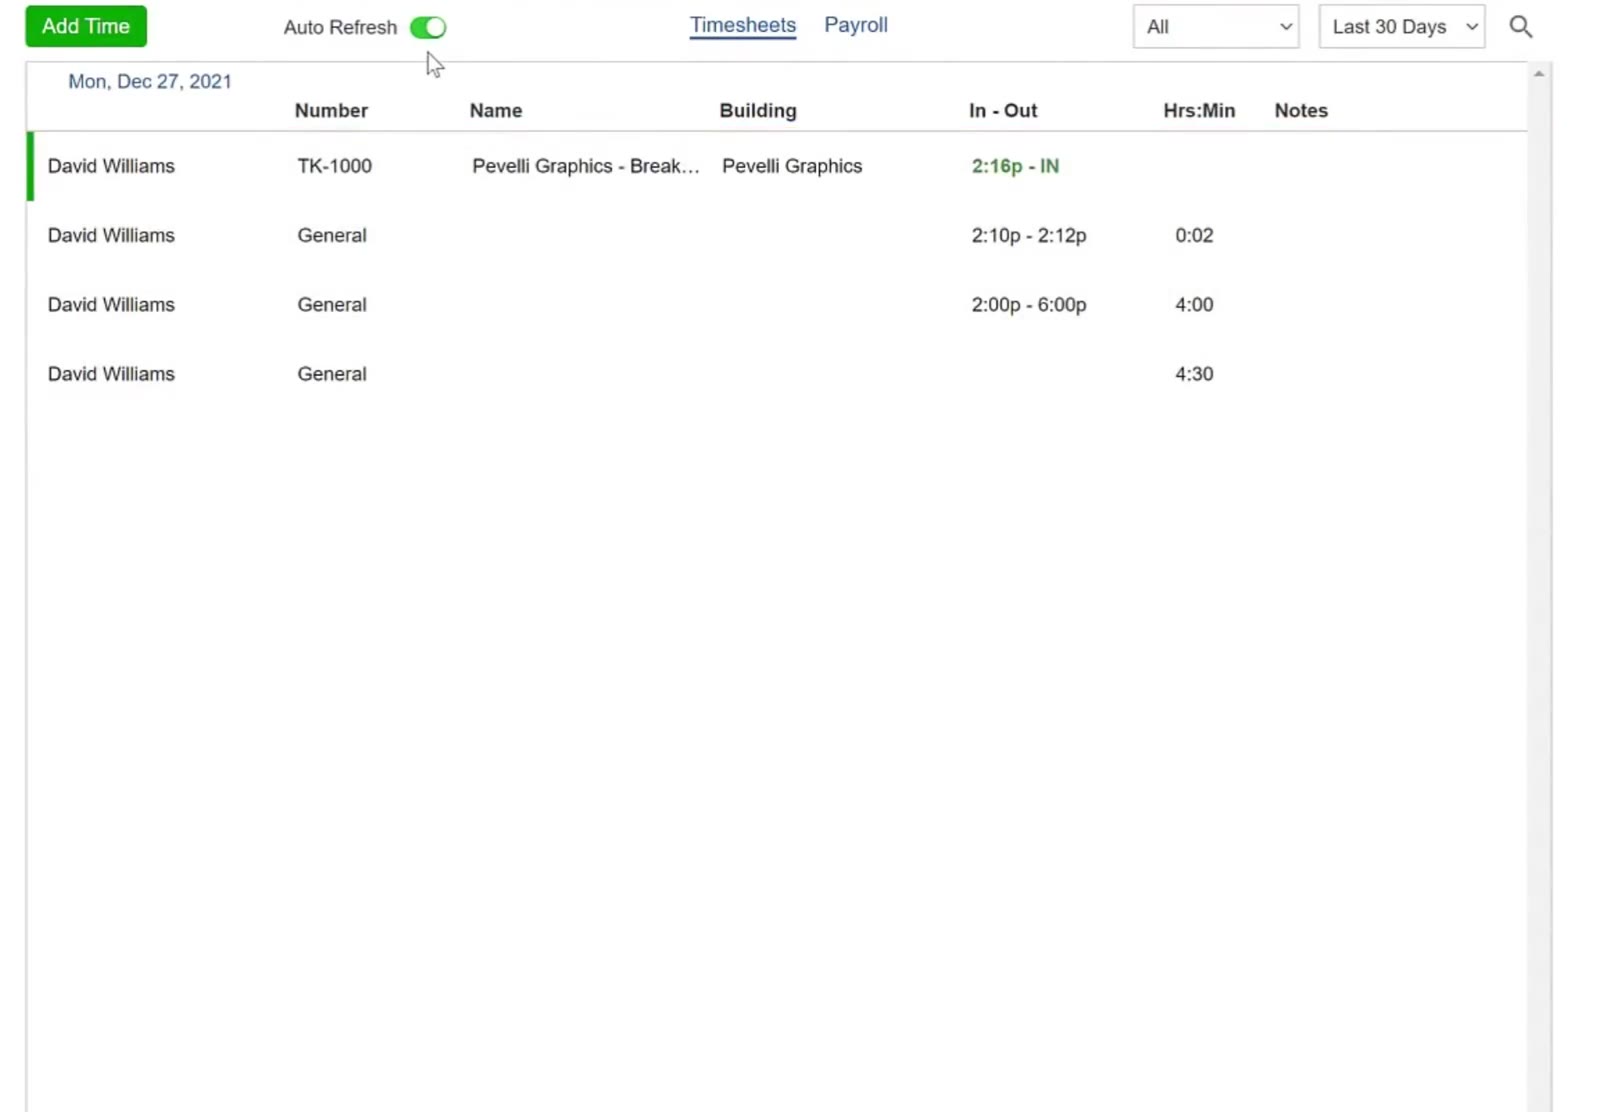
Auto Refresh sits at the top of the Timesheets list.
Filter the list
The two dropdowns at the top right narrow what you see. The right-hand one covers Last 30 Days, Checked IN, Custom, Today, This Month, This Year, Last Month, Last Year and All.
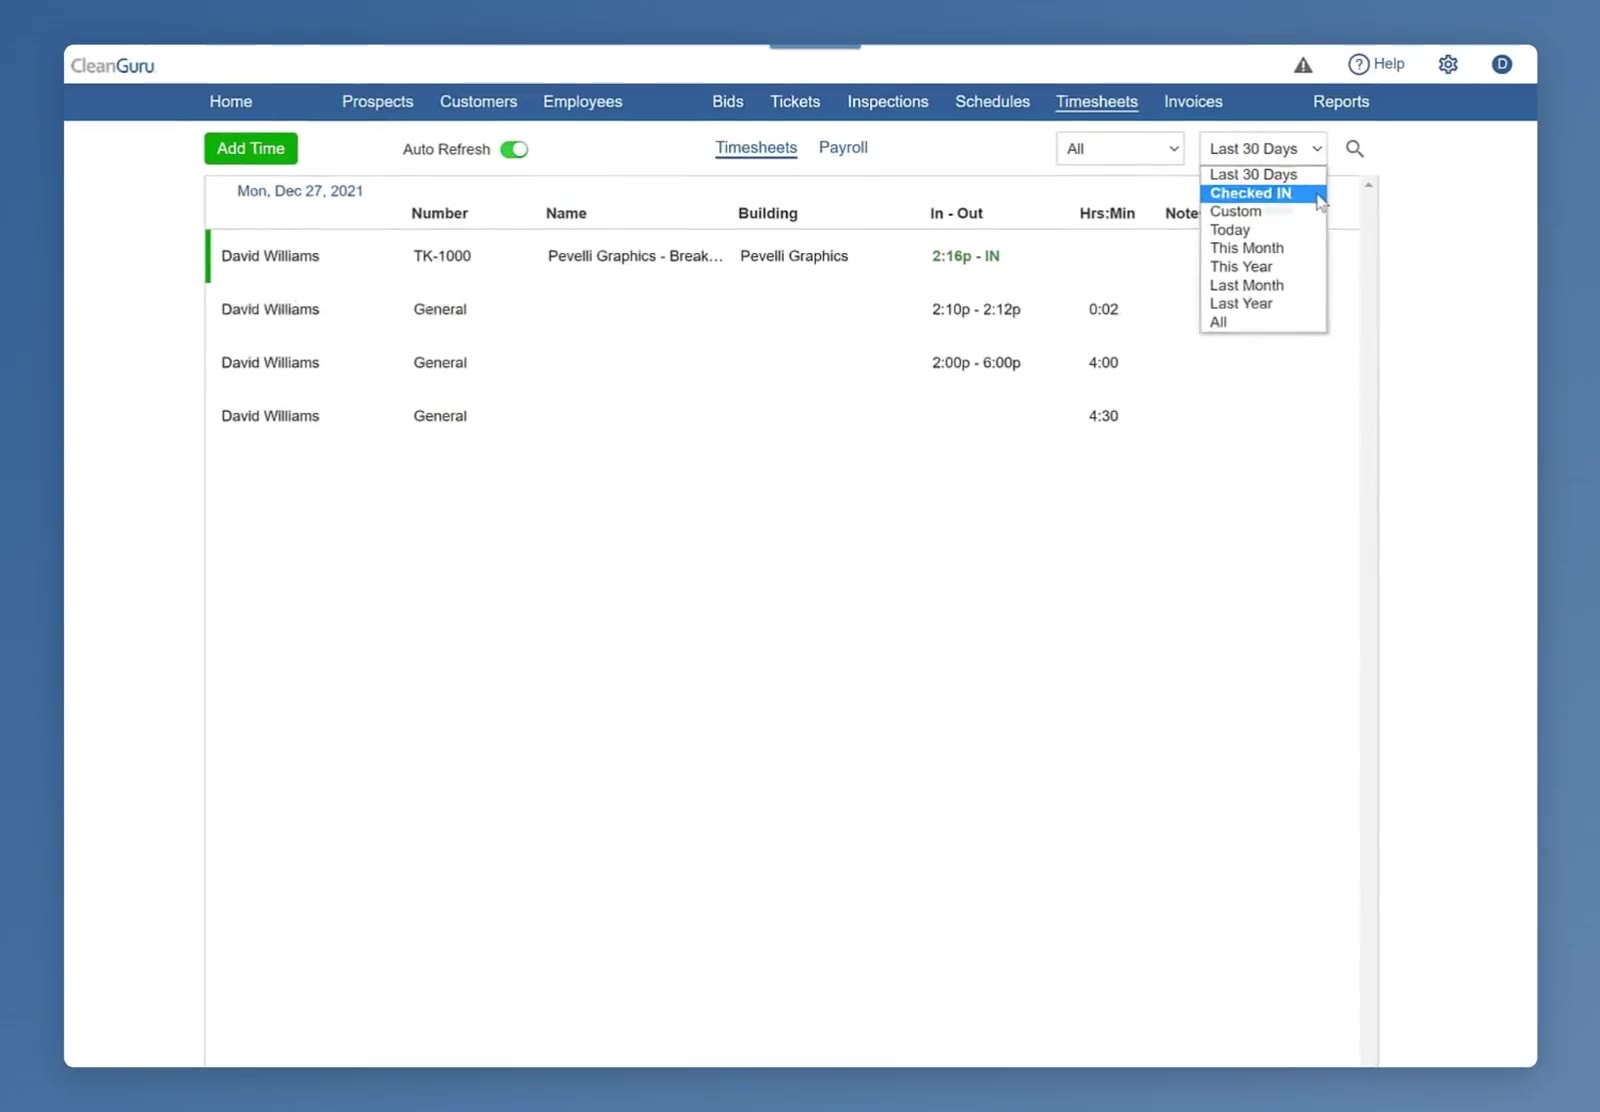
The right-hand dropdown covers the period, plus Checked IN for who is on the clock now.
FAQ
What kinds of time can I record?
General, Travel, or time against a specific Ticket or Inspection.
What are the three ways to record the duration?
Time In/Out for a start and a finish, Hrs:Min for a total, or Check In to start the clock now.
How do I stop the clock for someone who is checked in?
Use Check Out on the Checked IN panel.
How do I see who is on the clock right now?
Set the right-hand filter at the top of the Timesheets list to Checked IN.
What does Auto Refresh do?
It updates the list on its own about once a minute, so new entries appear without reloading the page.