
Create Checklists
A checklist spells out, area by area, exactly what gets done on a job. You build it once for a customer, the cleaner works through it on their phone, and what they ticked off comes back to you as a report.
Create the Checklist
Open Checklists
Click Checklists in the top menu. The sub-tabs underneath are Checklists, In Progress and Completed.
Start a new checklist
Click the green New Checklist button on the left.
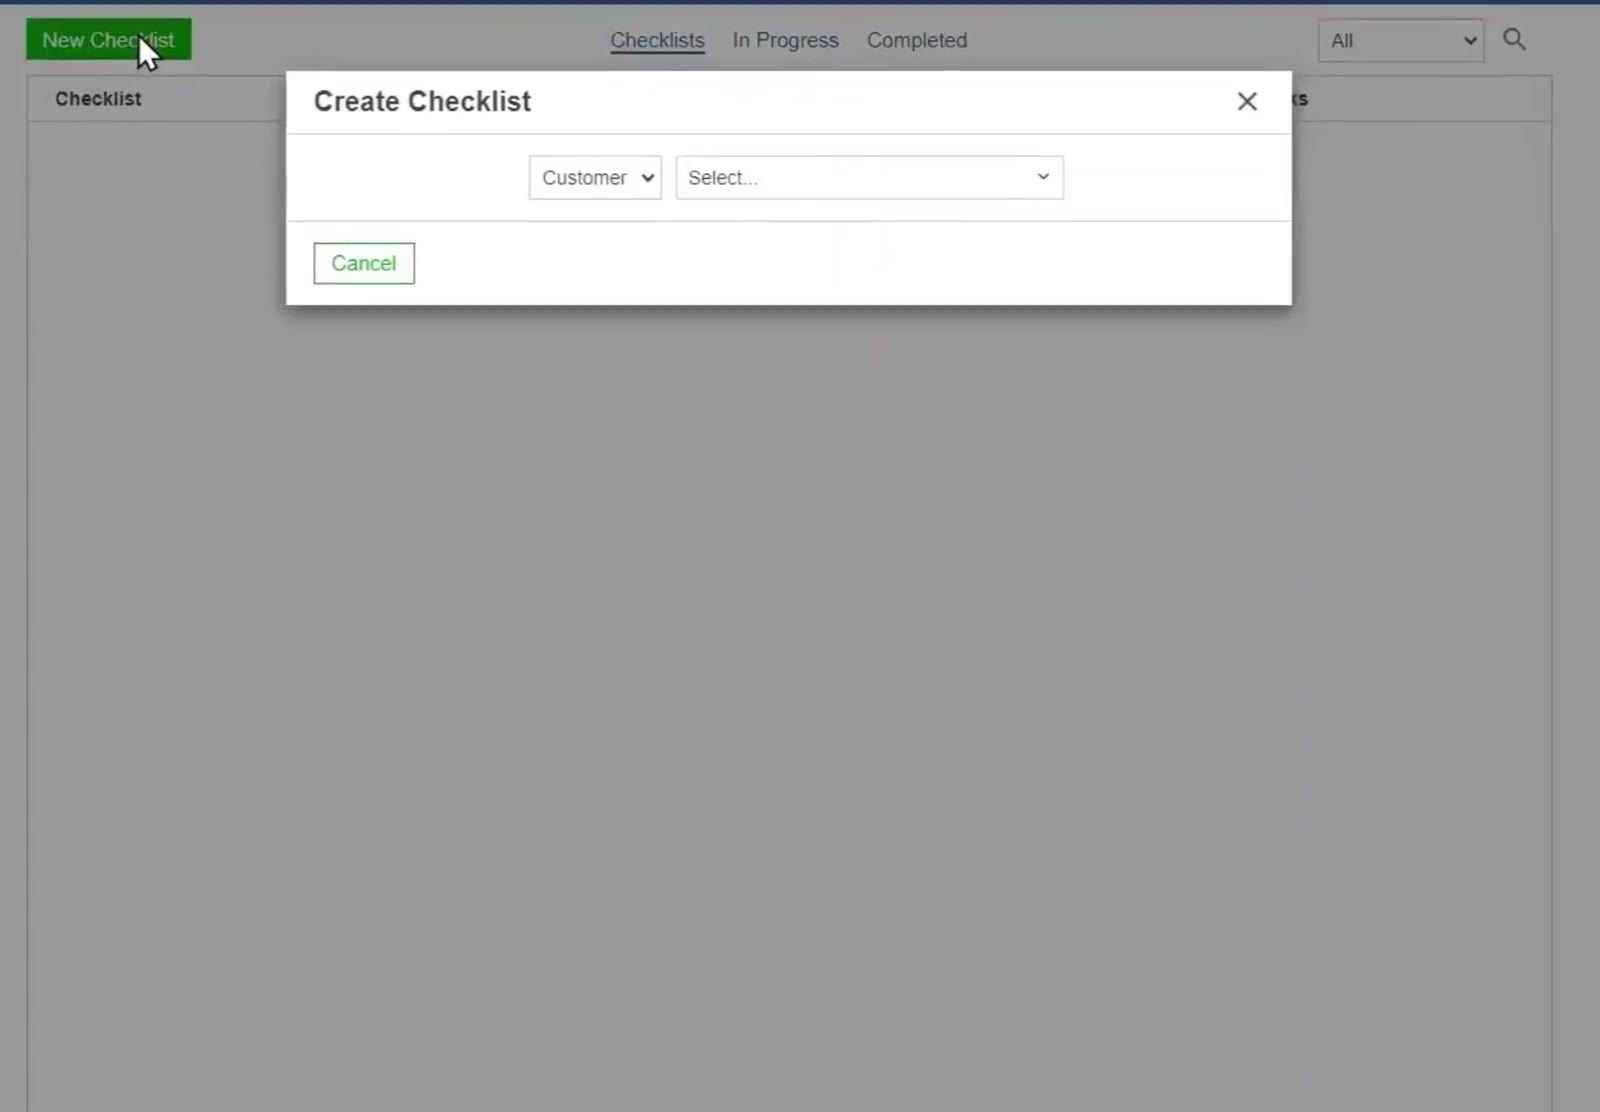
The Create Checklist box starts with the customer.
Fill in the box
The Create Checklist box asks one thing at a time. Pick the Customer, then the Cleaning Type — Janitorial, Maid, Construction, Tile, Move In/Out, Carpet, Disinfecting, Window, or Other/Custom. Give the checklist a name you will recognize later, then choose the Building Type.
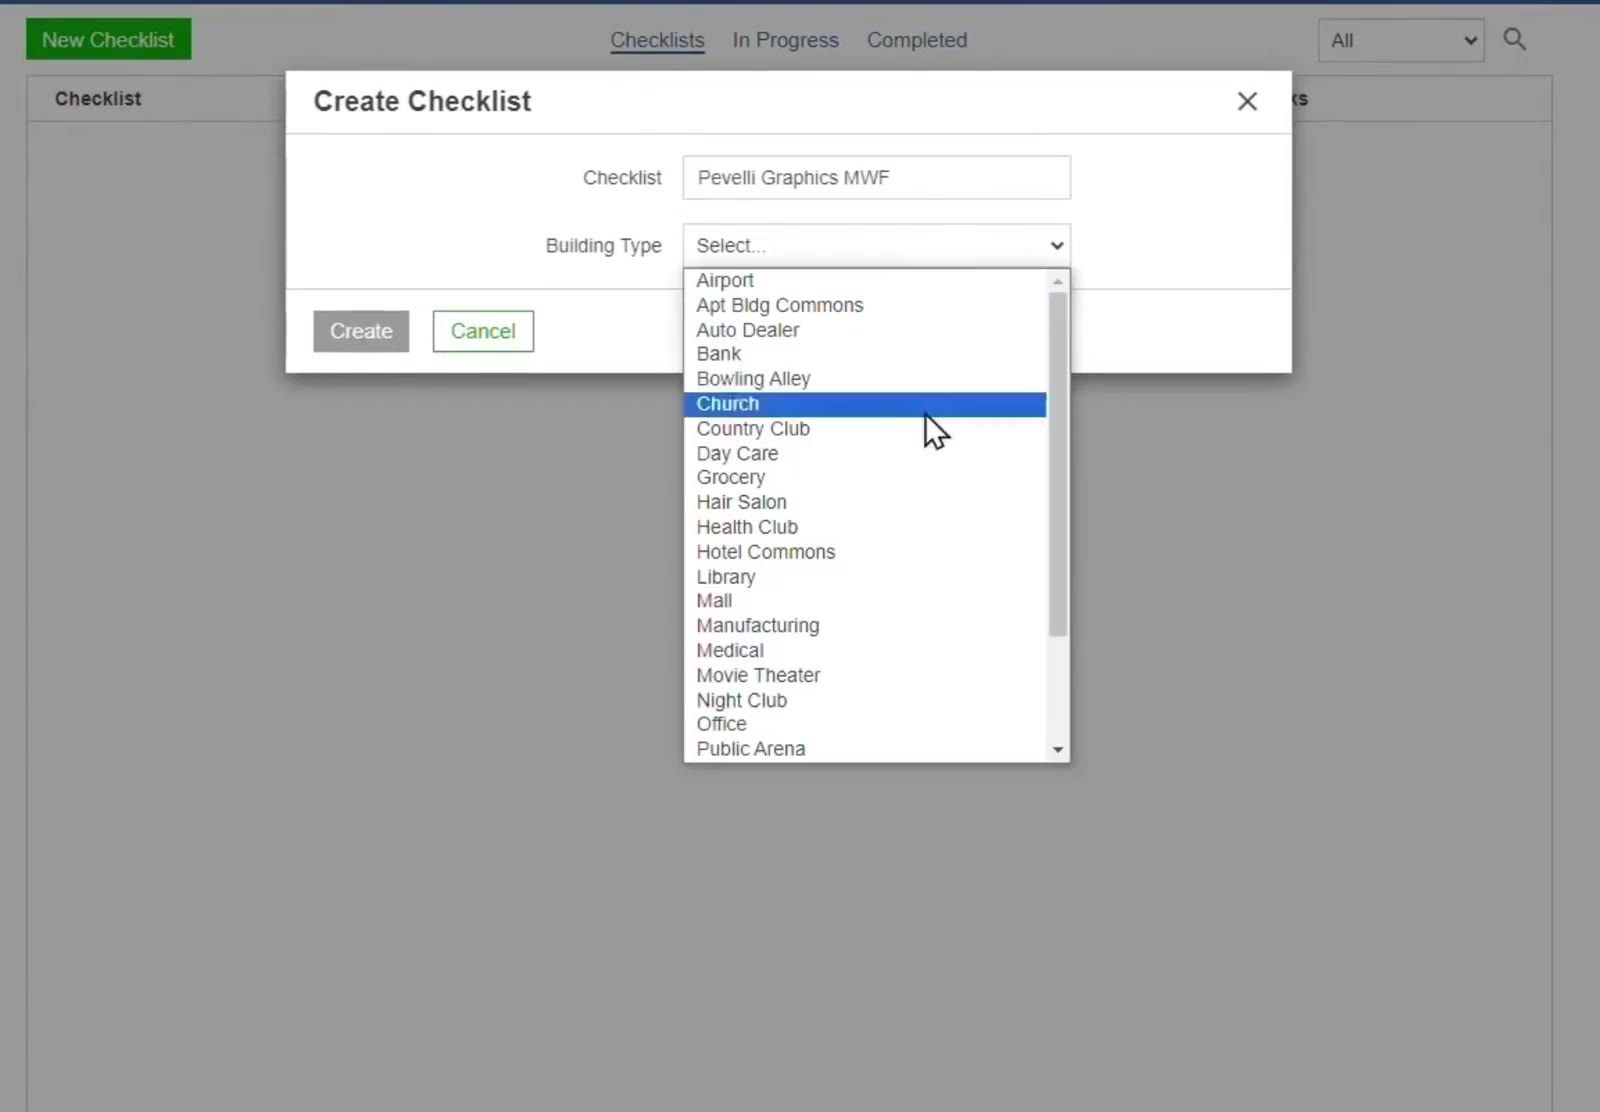
The Building Type list sets which standard areas the checklist starts with.
Create it
Click Create. The building type brings in the standard areas for that kind of building — it brings no tasks, so every area starts empty.
Add the Tasks
Pick an area
Under Building Information on the left, click an area such as Entrance. Each area shows how many tasks it holds, and they all read 0 tasks until you add some.
Type a one-off task
Click Add Custom at the foot of that area’s task list, type the instruction — Vacuum walk-off mats, here — and click Save.
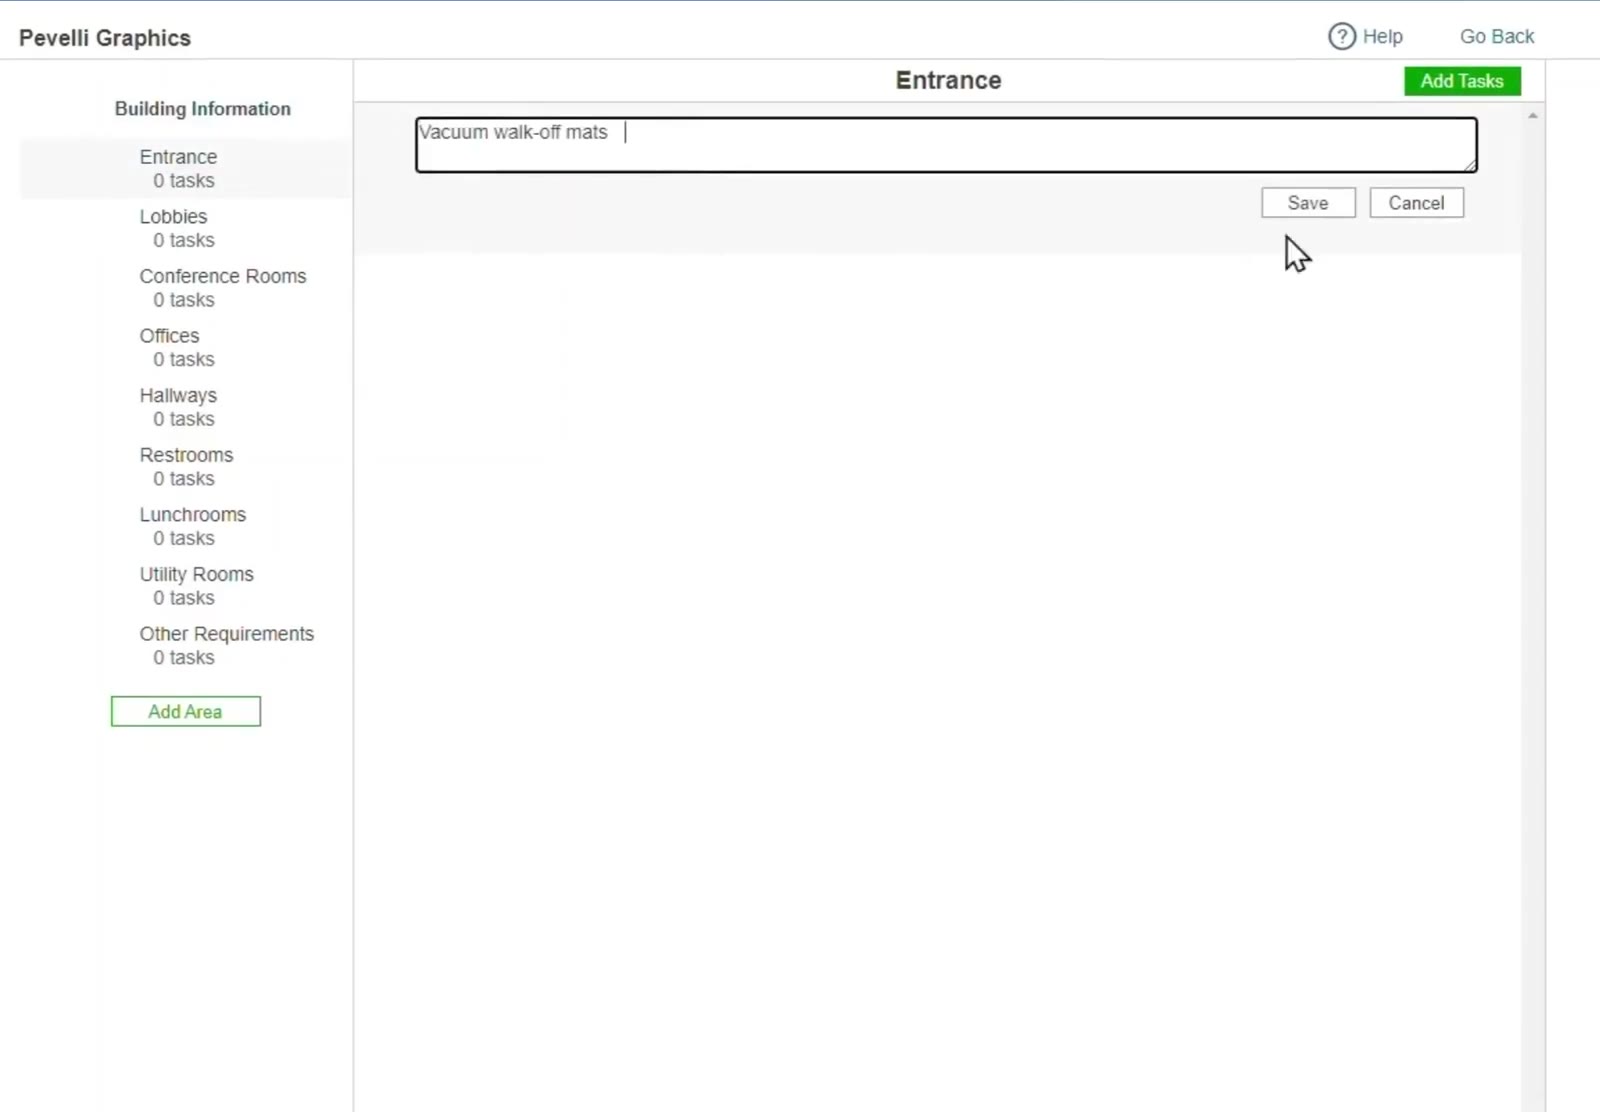
Add Custom types a task straight into the area you are looking at.
Or pull from the library
Click the green Add Tasks button at the top right of the area.
Take the standard tasks
With Standard selected, expand the categories — Windows, General, Carpet Floor, Hard Surface Floor — and tick what applies. The Search box finds a task by name.
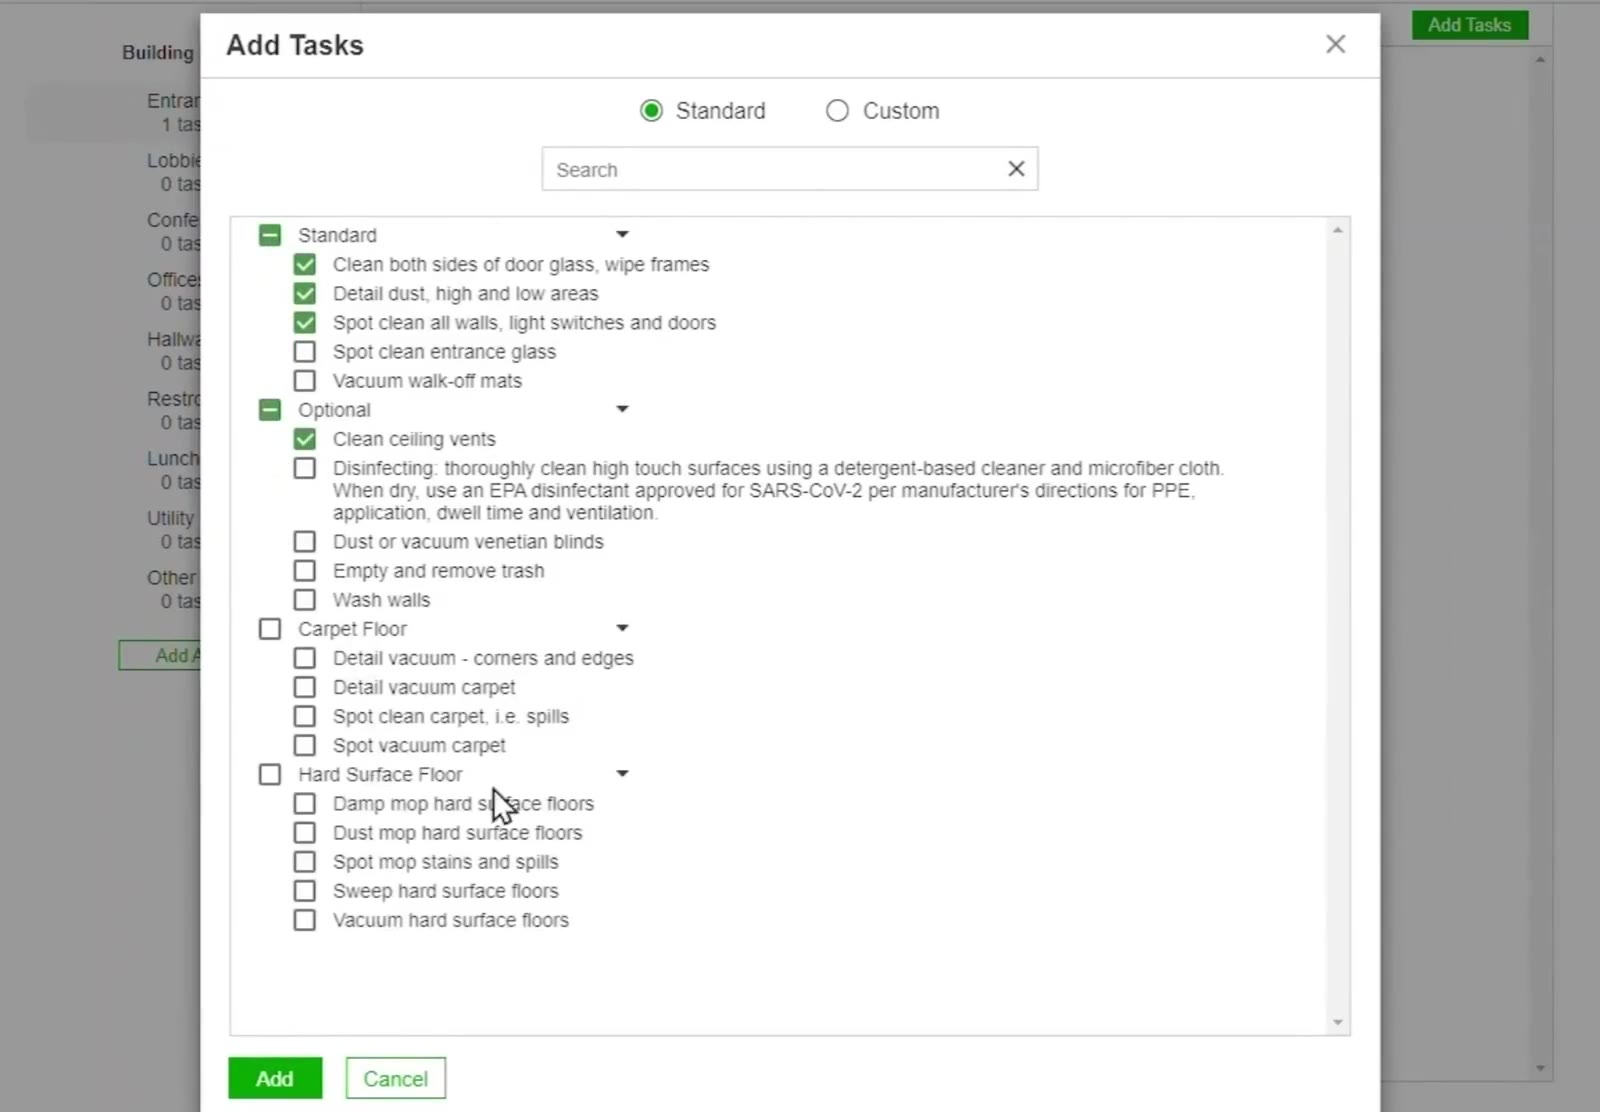
The Add Tasks dialog: Standard and Custom at the top, then the categories and a search box.
Or take your own
Click Custom to see the tasks you have created yourself. They are grouped by cleaning type along the top — Janitorial, Maid, Construction, Tile, Move In/Out, Carpet, Disinfecting, Window and Other. New Task writes a new one on the spot, and it is saved for you to use again.
Add them to the area
Click Add at the bottom of the dialog.
Reuse and Reorder
Copy an area you have already built
Hover an area in the sidebar and click the copy control. In the Create Copy box, name the new area — Plant Offices, here — and click Create. Every task from the original comes with it.
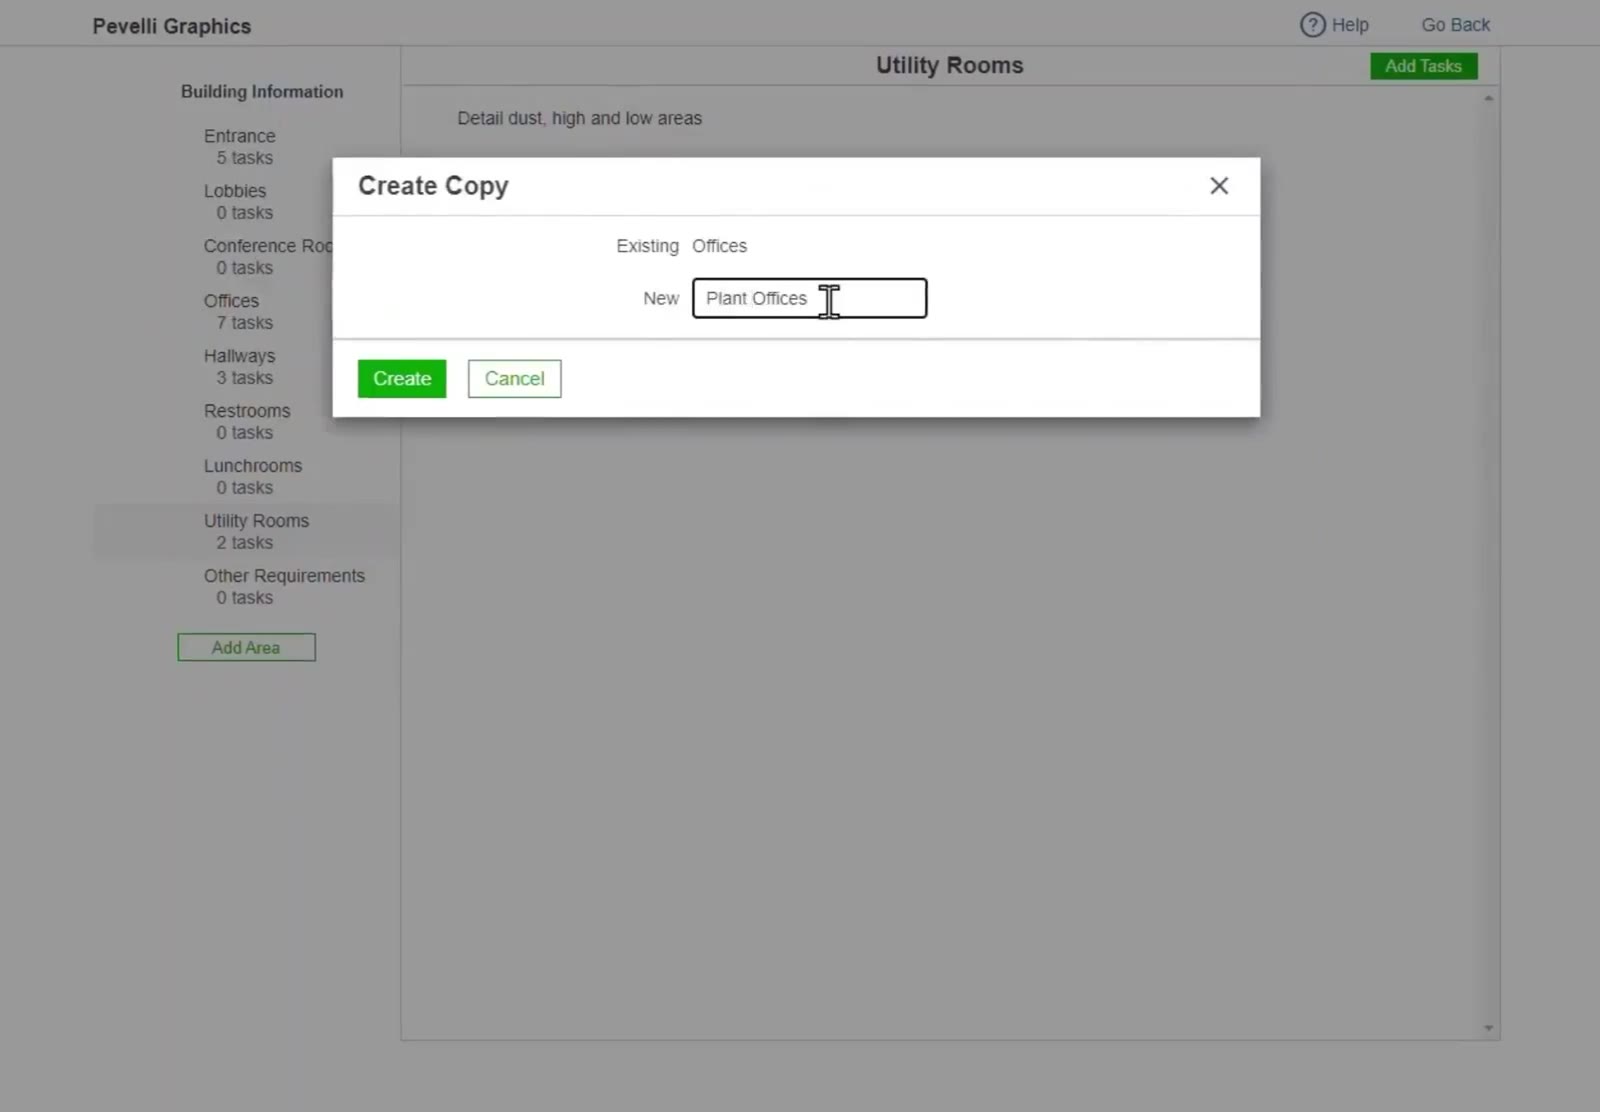
Create Copy duplicates an area and all of its tasks under a new name.
Put the tasks in order
Hover a task to bring up the handle at its left, then drag it up or down so the list runs in the order the work is actually done.
Remove a task
Hover the task and click the red X at the right of the row.
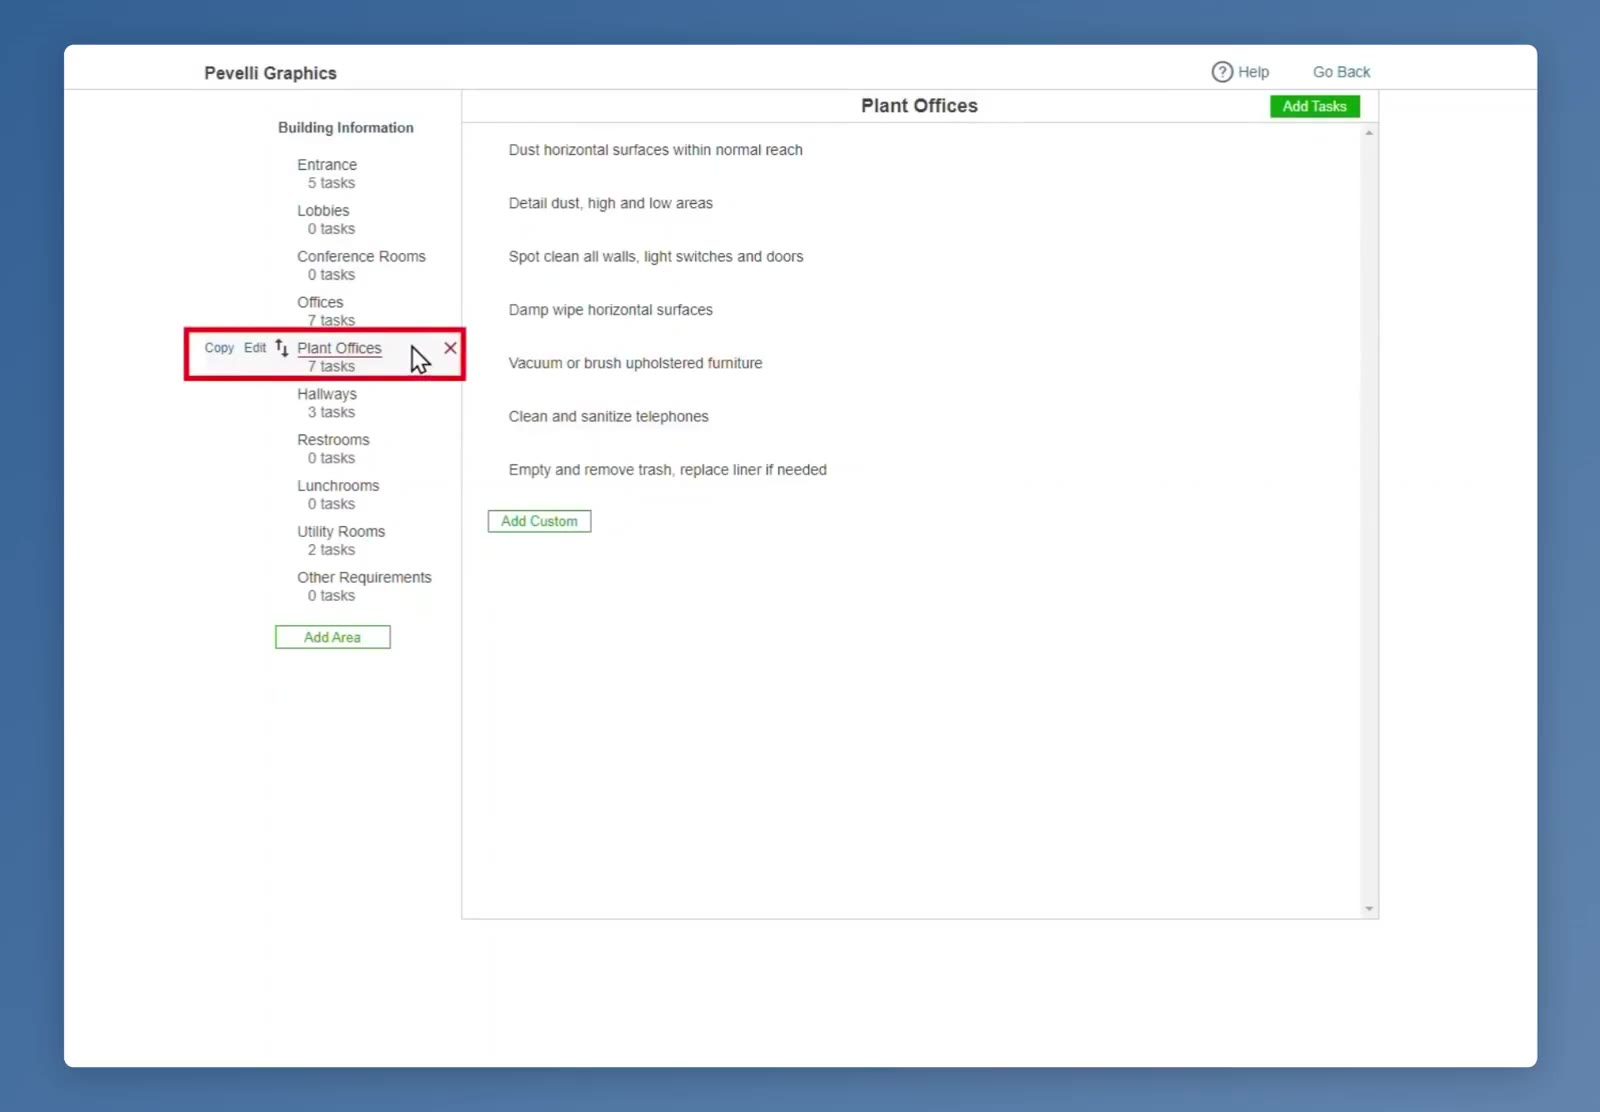
An area’s task list once tasks have been added, with Add Custom at the foot of it.
Back on the Building Information view, every area shows its own task count — so you can see at a glance which ones are still empty.
Use It on the Job
Open the checklist
In the mobile app, tap the scheduled job to open the ticket, tap Checklists, and choose an area.
Work through the tasks
Tap each task as it is done. The header counts the progress — 0 of 24, here — and the icons above the list add a photo or a note.
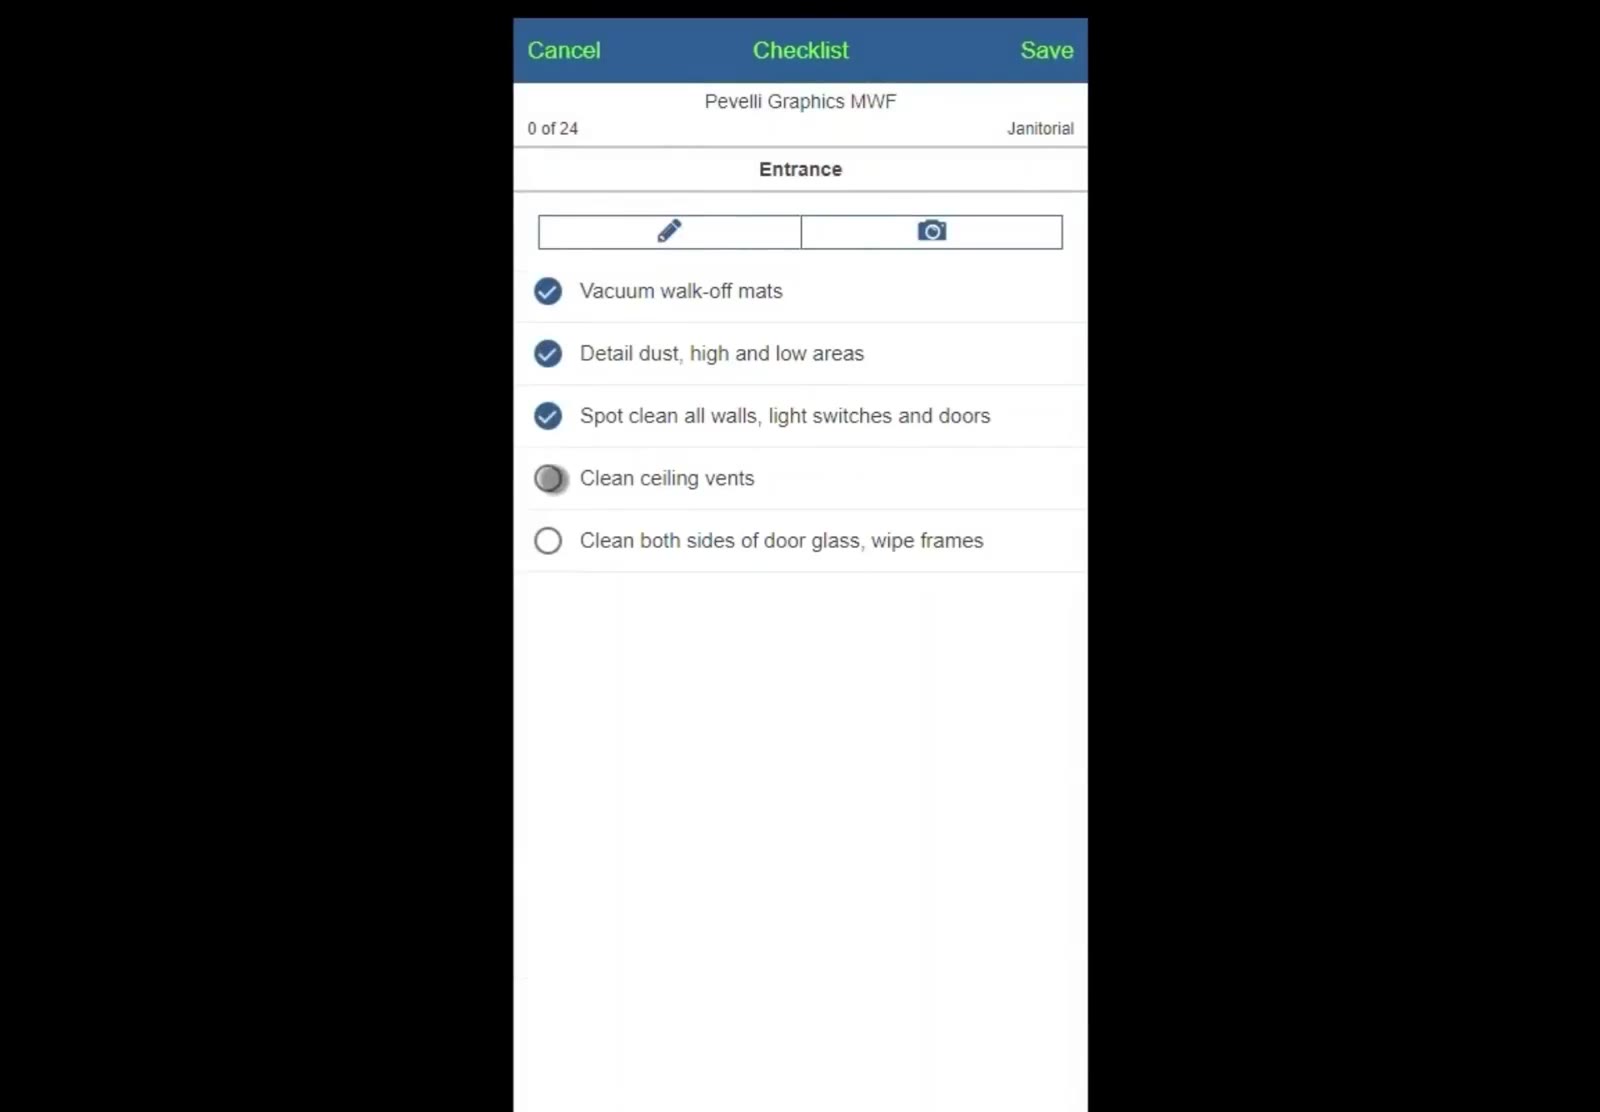
On the phone the cleaner ticks off each task, with the running count in the header.
Save it and finish the visit
Tap Save at the top right when that area is done. Once the whole visit is finished, go back to the ticket and set Status to Completed.
See What Was Done
Find the finished lists
Back on Checklists, the Completed sub-tab holds the ones that have been finished.
Run a report
Go to Reports and pick Checklists in the left sidebar. The reports are By Employee, By Building and By Category.
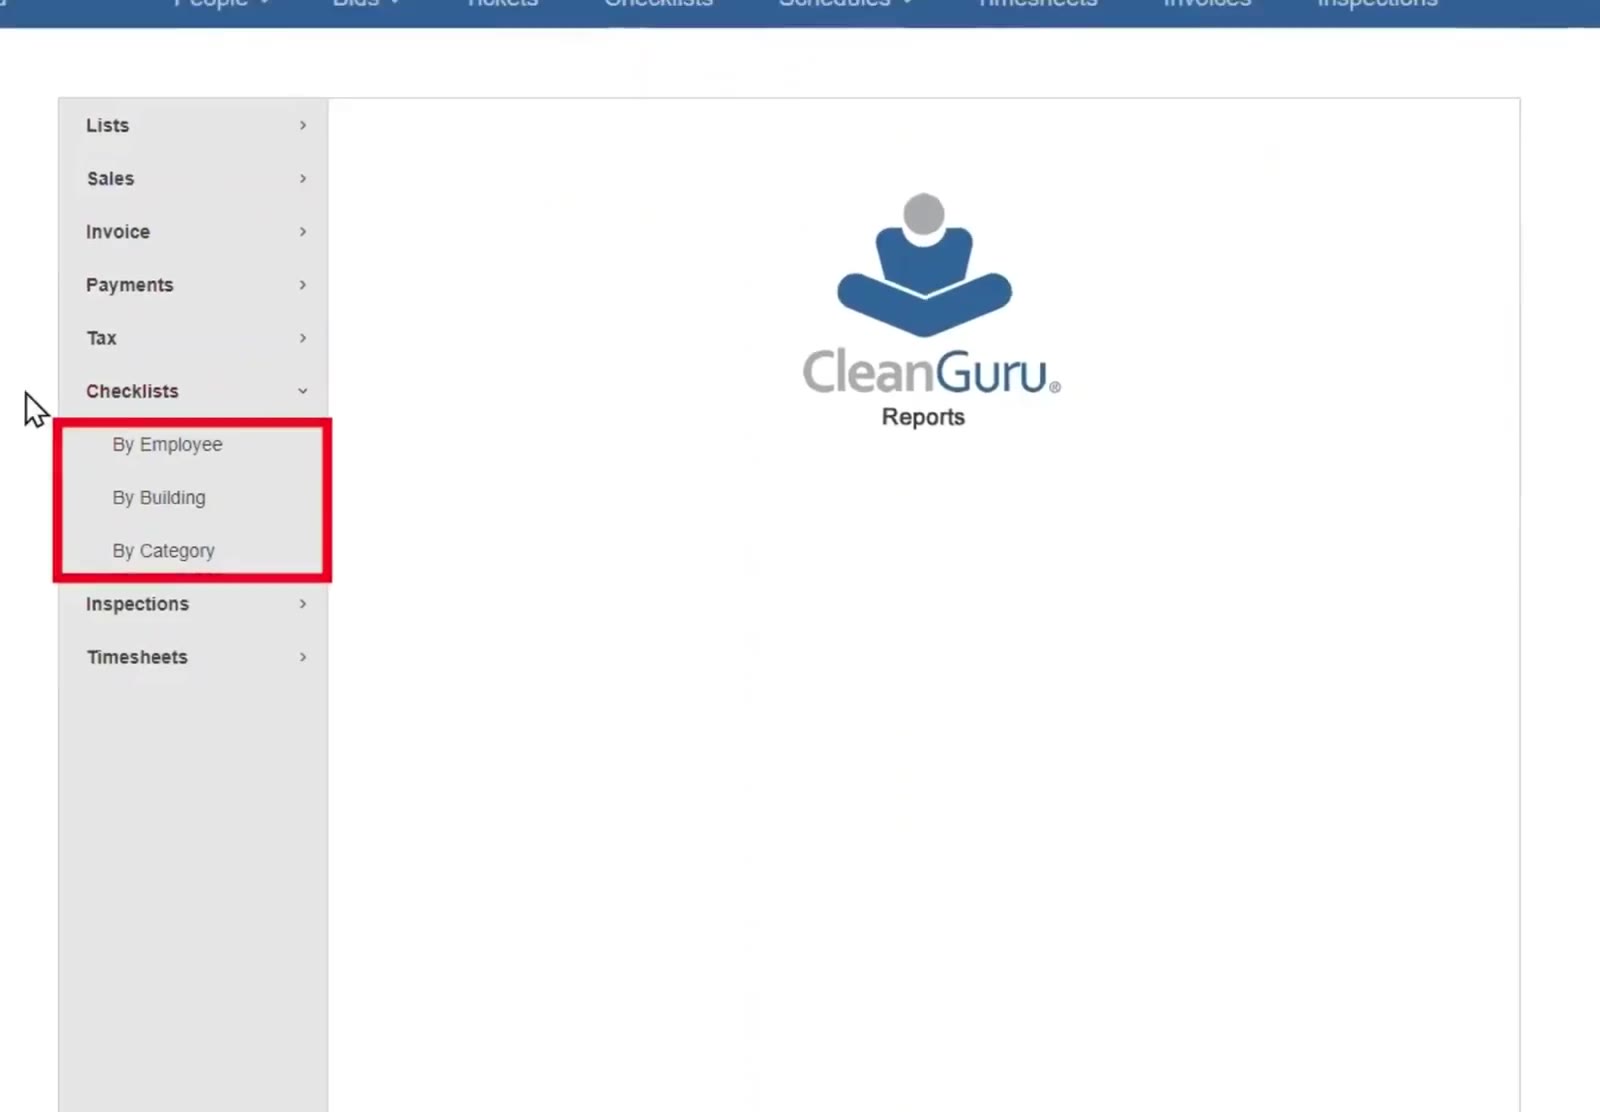
Reports groups checklist reporting into By Employee, By Building and By Category.
FAQ
Can I start from a blank list instead of selecting a Building Type?
Yes. Other/Custom is the last entry in the Cleaning Type list.
Does picking a Building Type add the tasks for me?
No. It brings in the standard areas for that kind of building. The tasks are added to each area separately.
Can I reuse an area I have already set up?
Yes. Hover the area in the sidebar, click the copy control, and Create Copy makes a new area with all the same tasks.